
Choosing a ceiling fan seems straightforward. When your electrician, builder or partner tasked you with making the selection for your new fan, you probably assumed you’d have to choose a style and size, and that would be it. But now, you’re seeing every product listing with “AC” or “DC” stamped next to it, and if you don’t know the difference, it can quickly feel overwhelming.
AC and DC refer to the motor type inside the fan, and the difference affects energy use, noise levels, fan controls and the price at the checkout. It’s not a decision you want to gamble on; you'll be living with this fan for a decade or more.
We’ve broken down the two options for you, and by the end, you’ll know exactly which motor type suits your home, and why it's worth getting right.
What Do AC and DC Mean in Ceiling Fans?
AC stands for alternating current. That's the type of power supplied to every Australian home through the grid. The current changes direction rapidly, and AC motors are powered directly by this supply through standard wiring directly to the fan.
DC stands for direct current, which flows in one direction only. A DC ceiling fan has a built-in transformer that converts your household AC power into DC before it reaches the motor. It's the same principle as the little brick on your phone charger, just scaled up for a fan motor.
DC ceiling fans still plug into your normal 240V power source. They don't need special wiring or a separate electrical setup. The conversion from AC to DC happens inside the motor housing, so from an installation standpoint, both fan types connect to your home's existing electrical components the same way.
Do DC Fans Actually Save You Money on Power Bills?
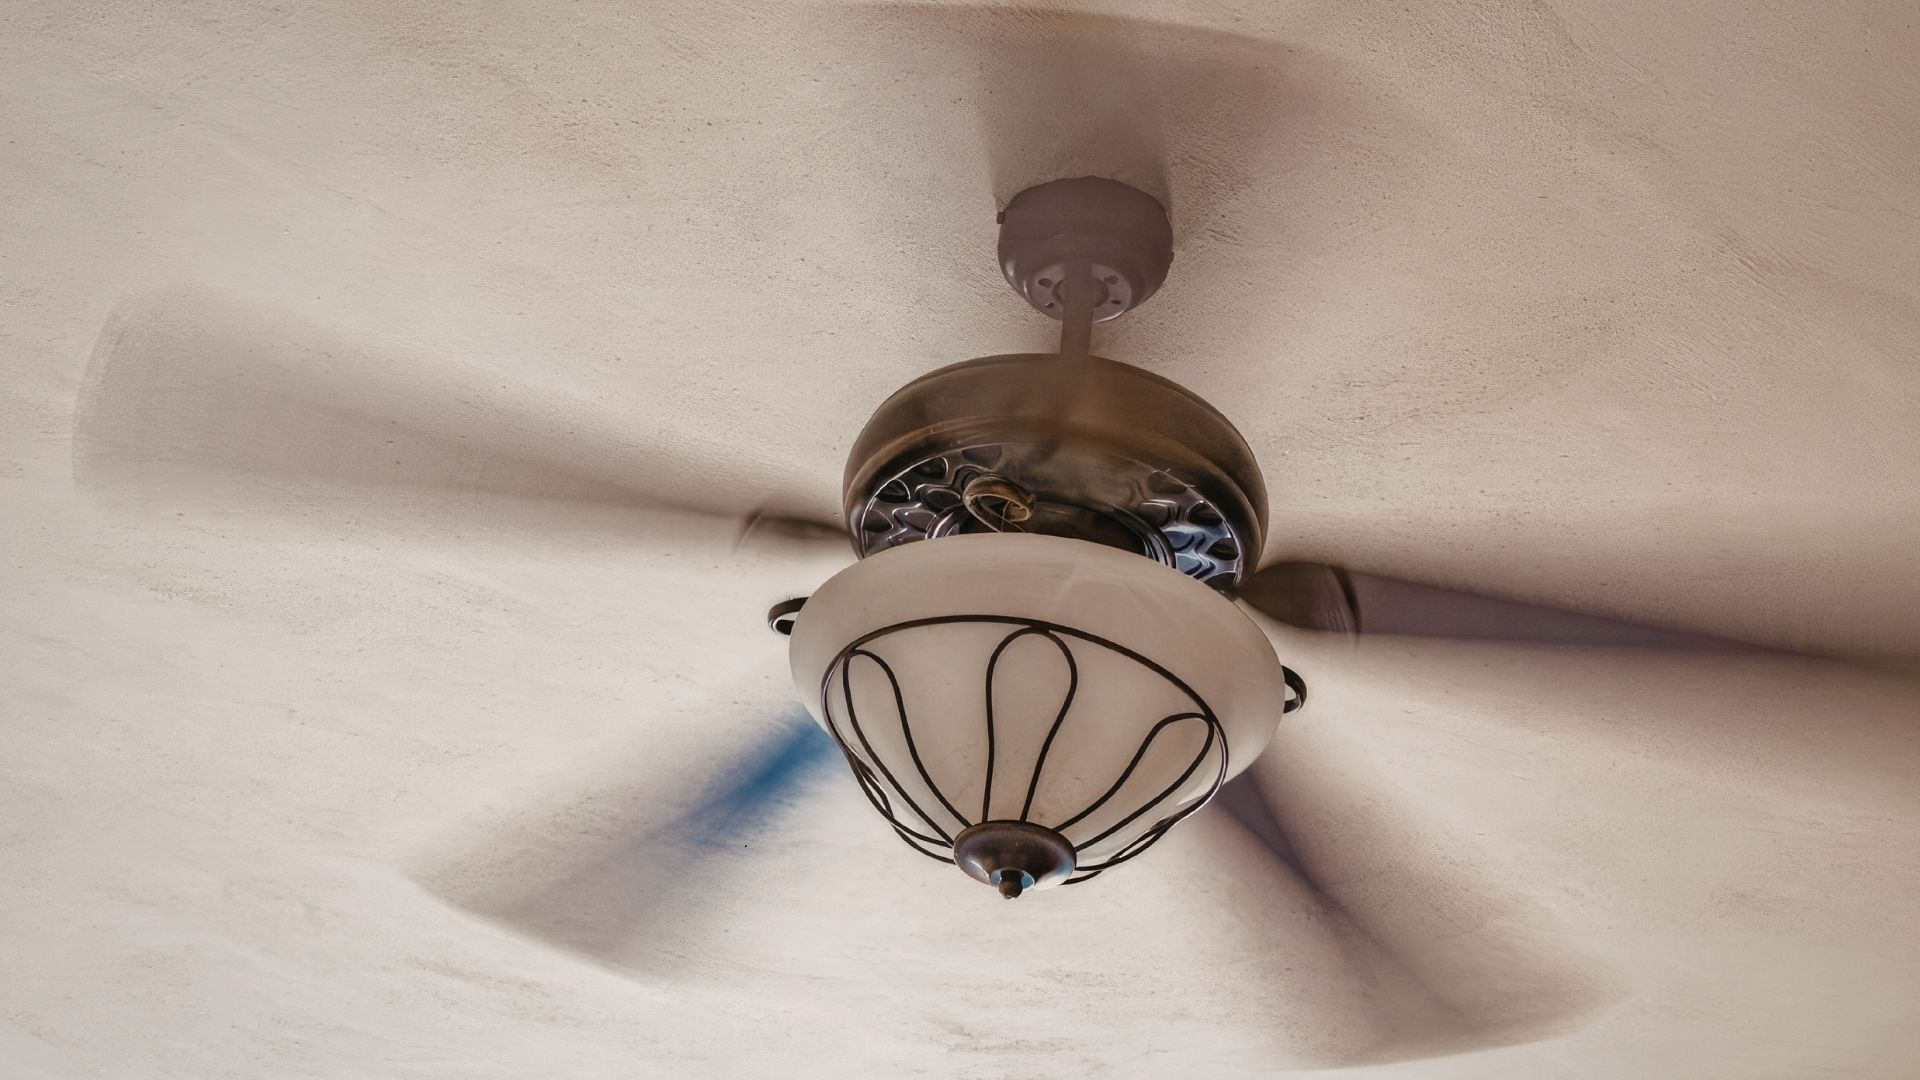
There's a lot of big claims floating around about DC fan energy savings, so let's look at the real numbers.
AC fans typically draw 50-100 watts at high speed, depending on the model and age. DC fans typically draw 25-40 W at equivalent airflow, using roughly half the energy of an AC fan. That makes DC ceiling fans highly energy efficient, and it's a genuine difference.
But how much does that save you in practice? Let's say a DC fan saves around 50 watts per hour over a comparable AC model. Running it for 8 hours a day through a 4-month Wollongong summer (roughly 120 days) at around $0.30 per kWh, that works out to roughly $14 to $15 per year in energy savings. It's real money, but it's modest.
The catch is that DC ceiling fans carry a higher upfront cost than equivalent AC models. So the payback period on energy savings alone is measured in years, not months.
That doesn't mean DC fans aren't worth it. It just means energy efficiency alone isn't the main reason to buy one.
Why Noise Levels Matter More Than You'd Think
This is where many people notice the biggest practical difference between AC and DC ceiling fans.
AC motors produce a low-frequency hum that's especially noticeable at mid-speeds. In a quiet bedroom at night, many AC fans create enough background noise to be annoying. DC fans use brushless motors with a more refined electromagnetic design. The result is extremely quiet operation, particularly at low speeds. Many users find this to be the real selling point of DC ceiling fans.
The quality and brand of the fan you pick is still important. A premium AC fan can outperform a budget DC fan on noise. But comparing AC vs DC at the same quality level, DC wins on quiet operation every time. For bedrooms, home offices, or any room where background noise is a primary concern, the difference is worth paying for.
Wall Switches, Remotes, and Speed Settings
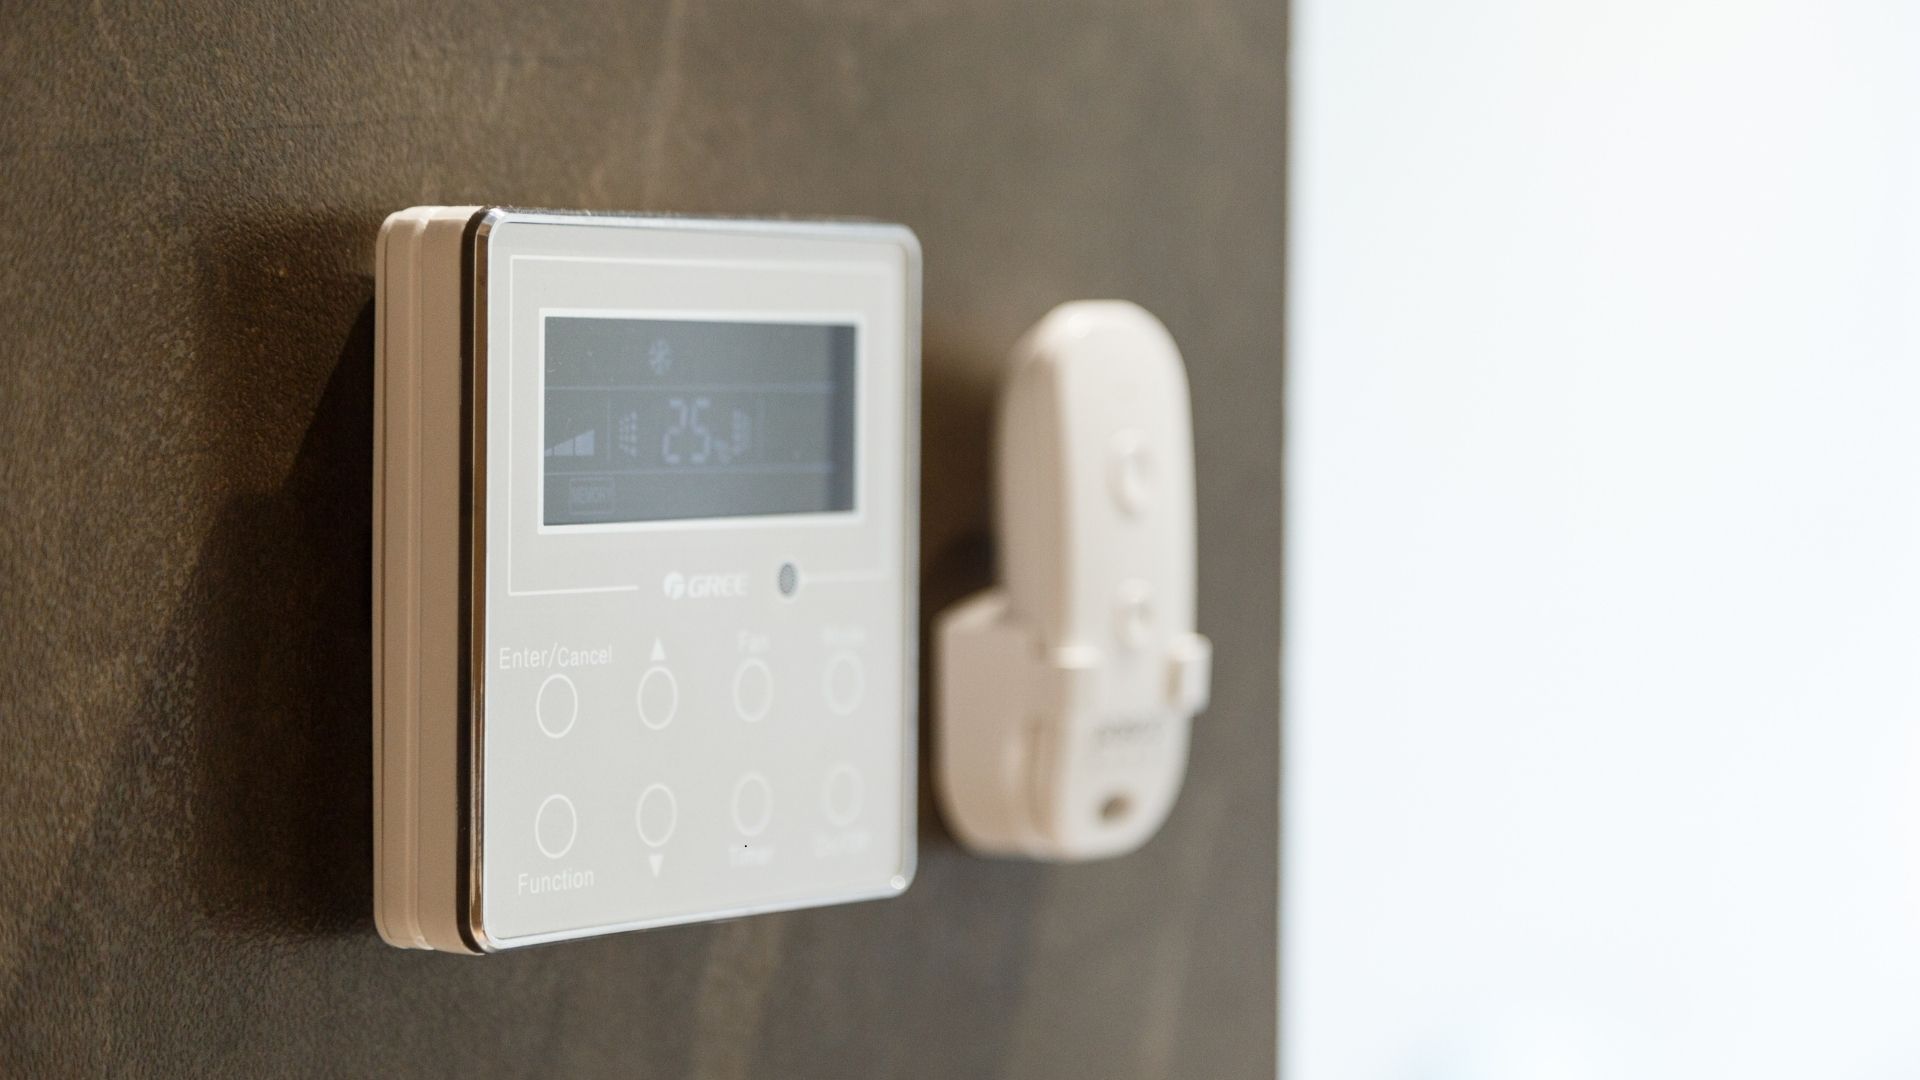
AC ceiling fans usually have 3 speeds and work with standard wall switches, including speed controllers. If your home already has a fan switch on the wall, an AC fan will work with it. The one drawback is the reverse function. On many AC fans, you need to physically access the motor housing to flip a switch or install a separate wall controller.
DC ceiling fans typically have 5 to 6 speeds and always come with a remote. Most DC fans won't work with a standard wall speed controller, so if you’re prone to losing remotes, this might be a drawback. If you're replacing an AC fan and expecting your existing switch to carry over, check before you buy. Some DC models do offer a wall controller, but it's often sold separately. The reverse function is easier on DC fans because it's built into the remote, so you don't have to climb a ladder to switch between summer and winter modes.
Wi-Fi-enabled DC fans are also becoming more common. These connect to Google Home or Amazon Alexa so that you can control the fan by voice or through an app.
The Right Fan for Each Room in Your Home
In a bedroom, DC is the stronger choice. The quiet operation at low speeds is a genuine quality-of-life improvement, and it's worth the extra spend for a room where you sleep.
For a living room or main area, either type works. If the fan is going to be running most of the day through summer, DC's lower running costs and quieter motor start to add up. But a quality AC fan won't let you down here either.
For outdoor areas like patios and alfresco spaces, look for IP-rated, damp-rated or wet-rated fans regardless of motor type. Wollongong's coastal climate means salt air and humidity can take a toll on electrical fittings and electrical components over time. Both AC and DC models are available in outdoor-rated configurations. Easther Electrical supplies and installs IP-rated, damp and wet-rated ceiling fans suited to coastal conditions.
For a rental property or secondary bedroom, AC is a perfectly cost-effective and sensible choice. The lower price point and straightforward wall panel controls make AC fans practical for properties where advanced features aren't a priority.
If you're renovating or building, DC is increasingly the standard in new installs. It's a good opportunity to future-proof your home with modern features, better energy efficiency, and quieter fans that will serve you for years.
Is Fan Installation a DIY Job?
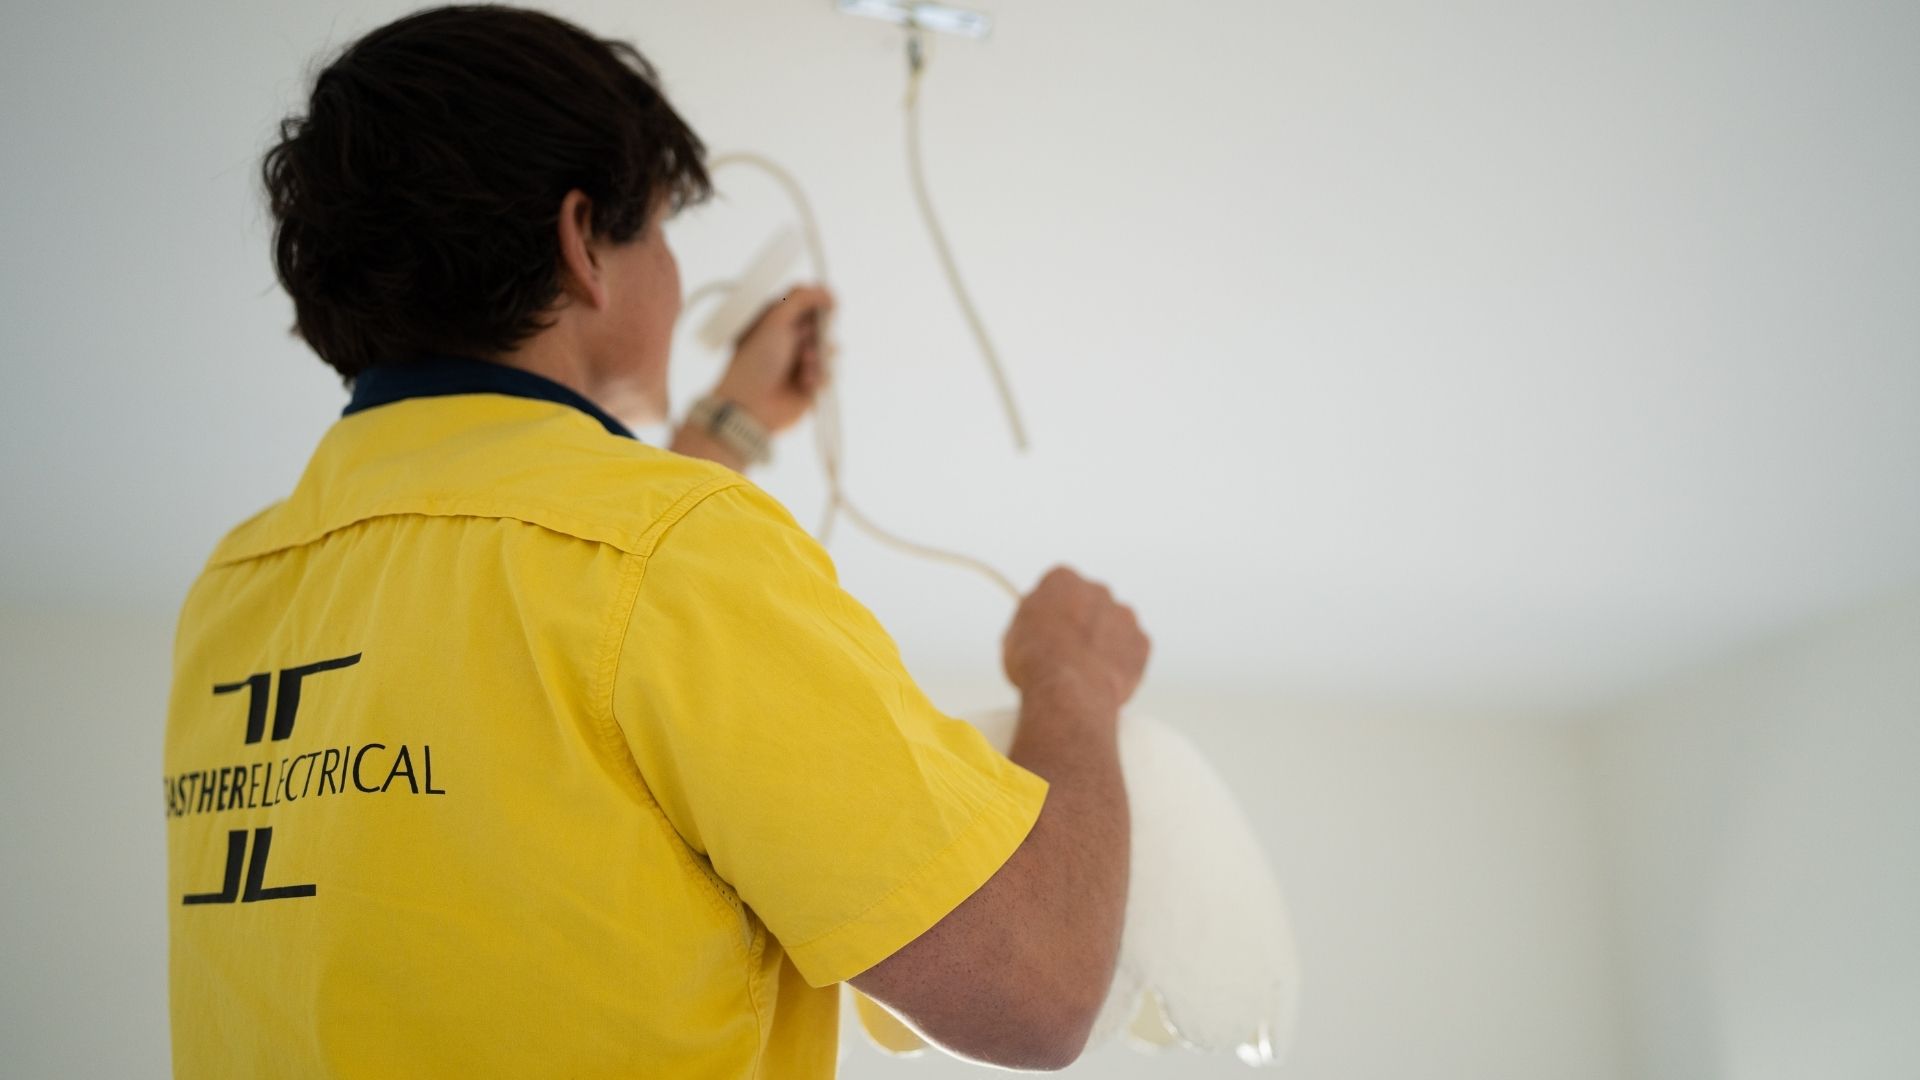
No, it isn’t. Regardless of whether you go AC or DC, ceiling fan installation in NSW must be carried out by a licensed electrician. AC ceiling fans are generally easier to install and maintain, with simpler electrical components and fewer parts. DC fans are slightly more complex inside the motor housing, but from the electrician's perspective, the installation process is very similar for both. Ceiling fan installation involves working with your home's fixed wiring, mounting a bracket to the ceiling structure, and testing the electrical connections; work that carries real risk of electric shock or fire if it's not done correctly.
Which One Should You Choose?
Both AC and DC ceiling fans are good options for Australian homes. It comes down to your budget, which rooms you're fitting out, and what matters most to you. DC fans are quieter, more energy efficient, and offer more speed settings and advanced features. AC fans are cheaper upfront, simpler to control with a wall switch, and generally easier to maintain.
If you need help choosing the right fan for your home or want to book a ceiling fan installation in Wollongong, the team at Easther Electrical can help. Give us a call or request a free quote.
If you're running extension cords across the room or relying on a power board to charge everything in sight, you've probably wondered what it would cost just to get a new power point installed.
It's one of the most common electrical jobs we get asked about, and the short answer is between $150 and $450, depending on the type of outlet and the amount of work involved.
We've put together the real costs for Wollongong homes, what affects the price, and a few ways to get better value from your electrician.
What Does Power Point Installation Cost in Wollongong?
These are general estimates based on typical jobs in the Wollongong area. Your actual cost will depend on your home's wiring, wall type, and access. Always get a written quote for your specific job.
| Installation Type | Typical Cost Range | Common Use |
| Standard single power point | $150 to $250 | Bedrooms, living rooms |
| Double power point | $180 to $300 | Kitchens, home offices |
| USB power point (combo) | $200 to $350 | Bedside tables, workstations |
| Outdoor weatherproof power point | $250 to $400+ | Alfresco areas, gardens |
| Relocated/moved power point | $200 to $350 | Renovations, layout changes |
| Replacement of existing outlet | $100 to $150 | Worn or damaged outlets |
| Quad power point | $180 to $300 | Home offices, media rooms |
What Affects the Cost to Install a Power Point?
Your Wall Type and Location
This is often where costs can vary the most. Fishing cable through a weatherboard wall cavity in a Wollongong bungalow is faster and cheaper than cutting into a brick wall in an older Figtree home. If the power point needs to go into concrete or a spot that's hard to reach, there will generally be a cost for extra labour time and materials.
If you need a power point installed higher up, say behind a wall-mounted TV or above a kitchen benchtop, that takes more work than a standard height outlet. The same applies to multi-storey homes, where wiring needs to run between floors.
Distance from Your Switchboard

In most cases, your electrician will connect your new power point to an existing circuit by tapping into nearby wiring. They don't always need to run cable all the way back to the switchboard. The cost of cabling really depends on how far the nearest suitable circuit is from where you want the new outlet.
It gets more expensive when your existing circuits are already at capacity. In that case, a new circuit breaker and a dedicated run back to the switchboard may be needed.
This is pretty common in older Illawarra homes where the electrical system was built for far fewer outlets than we use today. Some still have ceramic fuses that blow regularly under modern loads, and switchboards with no room left for new circuits. If that sounds like your place, your electrician may suggest rewiring or a new switchboard before adding more power points.
Call Out Fees and Labour Time
Many electricians charge a call-out or service fee in addition to the installation cost. This covers travel, vehicle costs, and the initial assessment. In Wollongong, call-out fees generally range from $70 to $150, though this varies by business. Some electricians roll the call-out fee into the total job cost, so it's always worth asking how they structure their pricing.
Hourly rates for power point installation in the Wollongong area typically range from $80 to $160, depending on the electrician's experience and the complexity of the job. A straightforward single power point might take 30 minutes to an hour, whereas a more complex job with new wiring or difficult access could take up to two hours.
After-hours, weekend, and emergency rates will be higher. If it's not urgent, booking during standard business hours on a weekday will save you money.
Power Point Installation Cost Breakdown
So, what are you actually paying for when you get a power point installed? Here's a rough breakdown, though the exact figures will depend on the job.
| Cost Component | What It Covers | Typical Range |
| Call out / service fee | Travel, vehicle costs, initial assessment | $70 to $150 |
| Labour | Installation, testing, and cleanup | $80 to $130 per hour |
| Power point outlet | The outlet itself | $15 to $80 |
| Cabling and wiring | Cable run from existing circuit | $20 to $60 |
| Mounting box / bracket | Wall mounting hardware | $10 to $25 |
| Wall patching | If walls need repair after installation | $15 to $30 |
| Safety switch (if needed) | New RCD installation | $50 to $150 |
One thing to look for in any quote is the CCEW. That's the Certificate of Compliance for Electrical Work, and in NSW, your electrician is legally required to submit it within 7 days of finishing the job. It proves the work meets Australian Standards and gives you a record for insurance and warranty purposes. If an electrician doesn't mention it, it's worth asking.
If your home needs broader electrical work, such as a switchboard upgrade or new wiring, that cost is on top of the standard power point installation.
Different Types of Power Points
| Type | What It Is | When You'd Use It |
| Standard (single or double) | Basic white plates, no frills. Most people go with double outlets since the price difference from a single is small. | Bedrooms, living rooms, offices. What most electricians will quote you for, unless you ask for something different. |
| Quad power point | Four outlets in one plate. Means you won't need a power board to plug everything in. | Home offices, media rooms, anywhere with lots of devices. |
| USB power outlet | Built-in USB ports let you charge devices directly from the wall without an adapter. | Bedside tables, workstations, kitchen benchtops. |
| Outdoor weatherproof | IP-rated enclosures with proper sealing. In coastal suburbs like Thirroul, Woonona, or Bulli, your electrician should be using marine-grade fittings. Salt spray eats through standard hardware. | Alfresco areas, garden sheds, pool equipment. |
| Dedicated appliance circuit | Not a power point as such. A dedicated circuit from the switchboard for high-draw appliances. Needs new wiring and its own circuit breaker. | Ovens, air conditioning, hot water systems, security systems, and LED downlights. |
| Smart power point | App control, timers, remote switching, energy monitoring. Most expensive option and installation takes longer. | Specific rooms where you want remote control or want to track power usage. |
How to Save Money on Power Point Installation
Bundle Jobs Together
If you need multiple outlets installed, getting them done in a single visit means you only pay one call-out fee. For example, if one power point costs $200 installed, three in the same visit might come to $450 to $500 total rather than $600.
Get Quotes From Two or More Electricians
Compare at least three quotes from different electricians, and make sure you're comparing like-for-like, including materials, labour, and whether the CCEW is included.
Plan Installations During Renovations
If walls are already open, there's no fishing cable through closed cavities, and wall patching is already part of the renovation budget. This is the cheapest time to install power points, so plan carefully for how many outlets you'll need and where they should go.
Choose Standard Products For Non-Visible Locations
You don't need a premium designer outlet behind your couch. Save the nicer finishes for visible spots like kitchen splashbacks and living areas.
Have Power Points Ready
If you've already purchased the outlets yourself, some electricians will install them for a reduced rate since they only need to supply labour and basic materials. Check with your electrician first, though, because some prefer to supply their own.
Book During Quieter Periods
Avoid peak renovation season (spring and early summer) if you can. Electricians are busier and less likely to offer competitive pricing when demand is high.
How to Tell if You're Getting a Fair Quote
Not all quotes are equal. A price that looks too good to be true usually is.
Quotes significantly under market rate often mean the person isn't licensed, isn't insured, or plans to cut corners. If someone offers to do electrical work for cash at a steep discount, it is best to walk away.
A good electrician will give you a written quote upfront that itemises labour, materials, and the service fee. They'll tell you how much the total will cost and how long it will take before they start.
Always check that your electrician has the right licence and insurance. Ask for their NSW electrical licence number. They should also offer a workmanship guarantee. If they don't mention any of this, that should be a warning sign.
Why You Can't DIY Power Point Installation in NSW

In NSW, all electrical wiring work must be done by a licensed electrician. That includes power points. There's no grey area here and no exceptions for "easy" jobs.
Beyond the legal side, it's genuinely dangerous. Incorrect wiring can cause electric shocks, fires, and even death. We've been called out to fix dodgy DIY jobs more times than we'd like, and the damage is always worse than what the original job would have cost.
Your insurance is also at stake. If you do your own electrical work and something goes wrong, your insurer can refuse the claim. A house fire caused by unlicensed work could leave you with nothing.
A qualified electrician won't just install your power point, they'll check whether your home's electrical system can actually handle the extra load. If your wiring is outdated or your switchboard is at capacity, they'll let you know before adding anything new to ensure everything is safe.
Get an Accurate Quote for Your Wollongong Home
Every home is different, and the best way to get an accurate quote for power point installation is to have a licensed electrician assess your property. At Easther Electrical, we provide transparent, itemised quotes with no hidden costs. Whether you need one new power point or a whole-home upgrade, our fully licensed team has been serving Wollongong and the Illawarra for years.
Contact Easther Electrical for a free quote for a power point installation or call us on 02 4256 5899.
Frequently Asked Questions
How long does it take to install a power point?
A standard job takes between 20 minutes and an hour. More complex installations with new wiring or difficult access can take up to two hours.
How much does it cost to install an outdoor power point in Wollongong?
Between $250 and $400+. The higher cost covers weatherproof enclosures and marine-grade fittings. If the location needs a new cable run from the switchboard, expect the upper end.
Is it cheaper to install multiple power points at once?
Yes. You pay one call-out fee instead of several, and the electrician can work more efficiently across the job.
What's included in a power point installation quote?
It should include the call-out fee, labour, all materials, and the CCEW. Always ask what's included and what might be extra before the job starts.
Can I install a power point myself in NSW?
No. A licensed electrician must do all electrical wiring work. Doing it yourself is illegal and can void your home insurance.
Do I need a new switchboard to add power points?
Not always. If your switchboard has spare capacity, your electrician can connect to an existing circuit. But if it's old, uses ceramic fuses, or is at full capacity, they may recommend an upgrade first.
You're getting your Wollongong home ready to sell, and the agent mentions something about smoke alarms needing to be interconnected. You glance up at the lone alarm in the hallway and think, "That's been there for years. Isn't that enough?"
Maybe. Maybe not. It depends on when your home was built.
So why are interconnected smoke alarms required? Simply because a standalone kitchen alarm won't always wake someone sleeping two floors up.
When alarms are interconnected, one detecting smoke triggers them all. Everyone in the house hears the warning, no matter where the fire starts or where they're sleeping. That's why the Building Code of Australia made them mandatory for new homes built after May 2014.
But NSW smoke alarm requirements are more layered than most homeowners realise. The rules are different for new builds, older homes, and rental properties. And Fire and Rescue NSW is clear that the minimum legal requirement isn't the same as best practice.
Below, we break down what the law actually says, who needs interconnected smoke alarms, and what it takes to get your home compliant. We install smoke alarm systems across Wollongong and the Illawarra Region every week, so we'll give you the practical side of things too.
What Are Interconnected Smoke Alarms?
A standalone smoke alarm only sounds in the room where it's installed. If a fire starts in your kitchen while you're asleep upstairs, that single alarm might not wake you. This is especially dangerous for children, the elderly, and anyone with mobility issues who need more time to evacuate.
Interconnected smoke alarms are linked so that when one alarm detects smoke, all alarms in the house go off at the same time. It doesn't matter whether the fire starts in the garage, the laundry room, or the spare bedroom, every person in every room hears the warning.
There are three ways alarms can be interconnected:
| System Type | How It Works | Best For | Notes |
| Hard wired | Connects through your home's electrical wiring. Runs off mains power with a backup battery. | New builds and major renovations | Most reliable option. Required by the Building Code of Australia for new builds. Must be installed by a licensed electrician. |
| Wireless (RF) | Alarms communicate via radio frequency signals. Each unit runs on a sealed 10-year lithium battery. | Existing homes where new wiring would be disruptive or expensive | Produces fewer false alarms than older ionisation units, so people are less likely to disconnect them. |
| Hybrid | Combines hard wired and wireless alarms in the same system. | Homes with extensions or converted garages | As long as all alarms communicate with each other, the system works. |
What Does NSW Law Actually Require?
The Minimum Legal Requirement (All NSW Homes)
Under the Environmental Planning and Assessment Act 1979, every residential building in New South Wales where people sleep must have at least one working smoke alarm installed on every level. This applies to owner-occupied homes, rental properties, relocatable homes, caravans, and moveable dwellings.
The smoke alarms must comply with Australian Standard AS 3786. A person who doesn't comply is guilty of an offence with a maximum penalty of $550.
That's the baseline, and it's been NSW law since 2006.
Homes Built After 1 May 2014 (Interconnection Required)
The Building Code of Australia (enforced in NSW through the Environmental Planning and Assessment Act) requires that any dwelling built after 1 May 2014 must have interconnected smoke alarms where more than one alarm is installed.
These alarms must be connected to mains power with a backup battery, interconnected so all alarms sound together, and compliant with Australian Standard AS 3786.
If your Wollongong home was built after May 2014 and your smoke alarms aren't interconnected, your property is non-compliant with the building code. This especially matters if you're selling, renting, or making an insurance claim.
Major Renovations and Extensions
If you've done a major renovation or extension that required a development application, the new section of your home needs compliant smoke alarms installed. Where more than one alarm is required in the new section, those alarms must be interconnected.
This part confuses many people. If your home was built before May 2014, the alarms in a new extension don't have to be connected to those in the older part of the house. But any extensions approved after that date need their alarms interconnected.
This is one area where getting professional advice saves headaches. The rules around what connects to what depend on your build dates and the scope of your renovation.
Rental Properties (Extra Obligations)
NSW legislation requires landlords to meet additional responsibilities under the Residential Tenancies Act 2010, strengthened in March 2020. Landlords and property managers must ensure smoke alarms are installed on every storey of the rental property and they are in working order, replace removable batteries at the commencement of each new tenancy, and conduct annual checks to ensure alarms are functioning. They must also replace smoke alarms within 2 business days of learning one isn't working, and replace alarms that are more than 10 years old.
Tenants can't tamper with or disable smoke alarms without a reasonable excuse, but they must notify the landlord if an alarm fails or isn't working.
For rental properties built after May 2014, the interconnection requirement applies, and property managers across Wollongong are increasingly checking for this during routine inspections.
What Fire and Rescue NSW Recommends
The legal minimum and best practice are two different things. Fire and Rescue NSW recommends that all homes, regardless of build date, install interconnected photoelectric smoke alarms in every bedroom, hallway, living space, stairway, and even the garage.
This recommendation isn't legally binding for existing homes built before 2014, but it's based on decades of fire investigation data, and there are good reasons to follow it.
Why Photoelectric Alarms? (And Why Ionisation Alarms No Longer Meet Requirements)
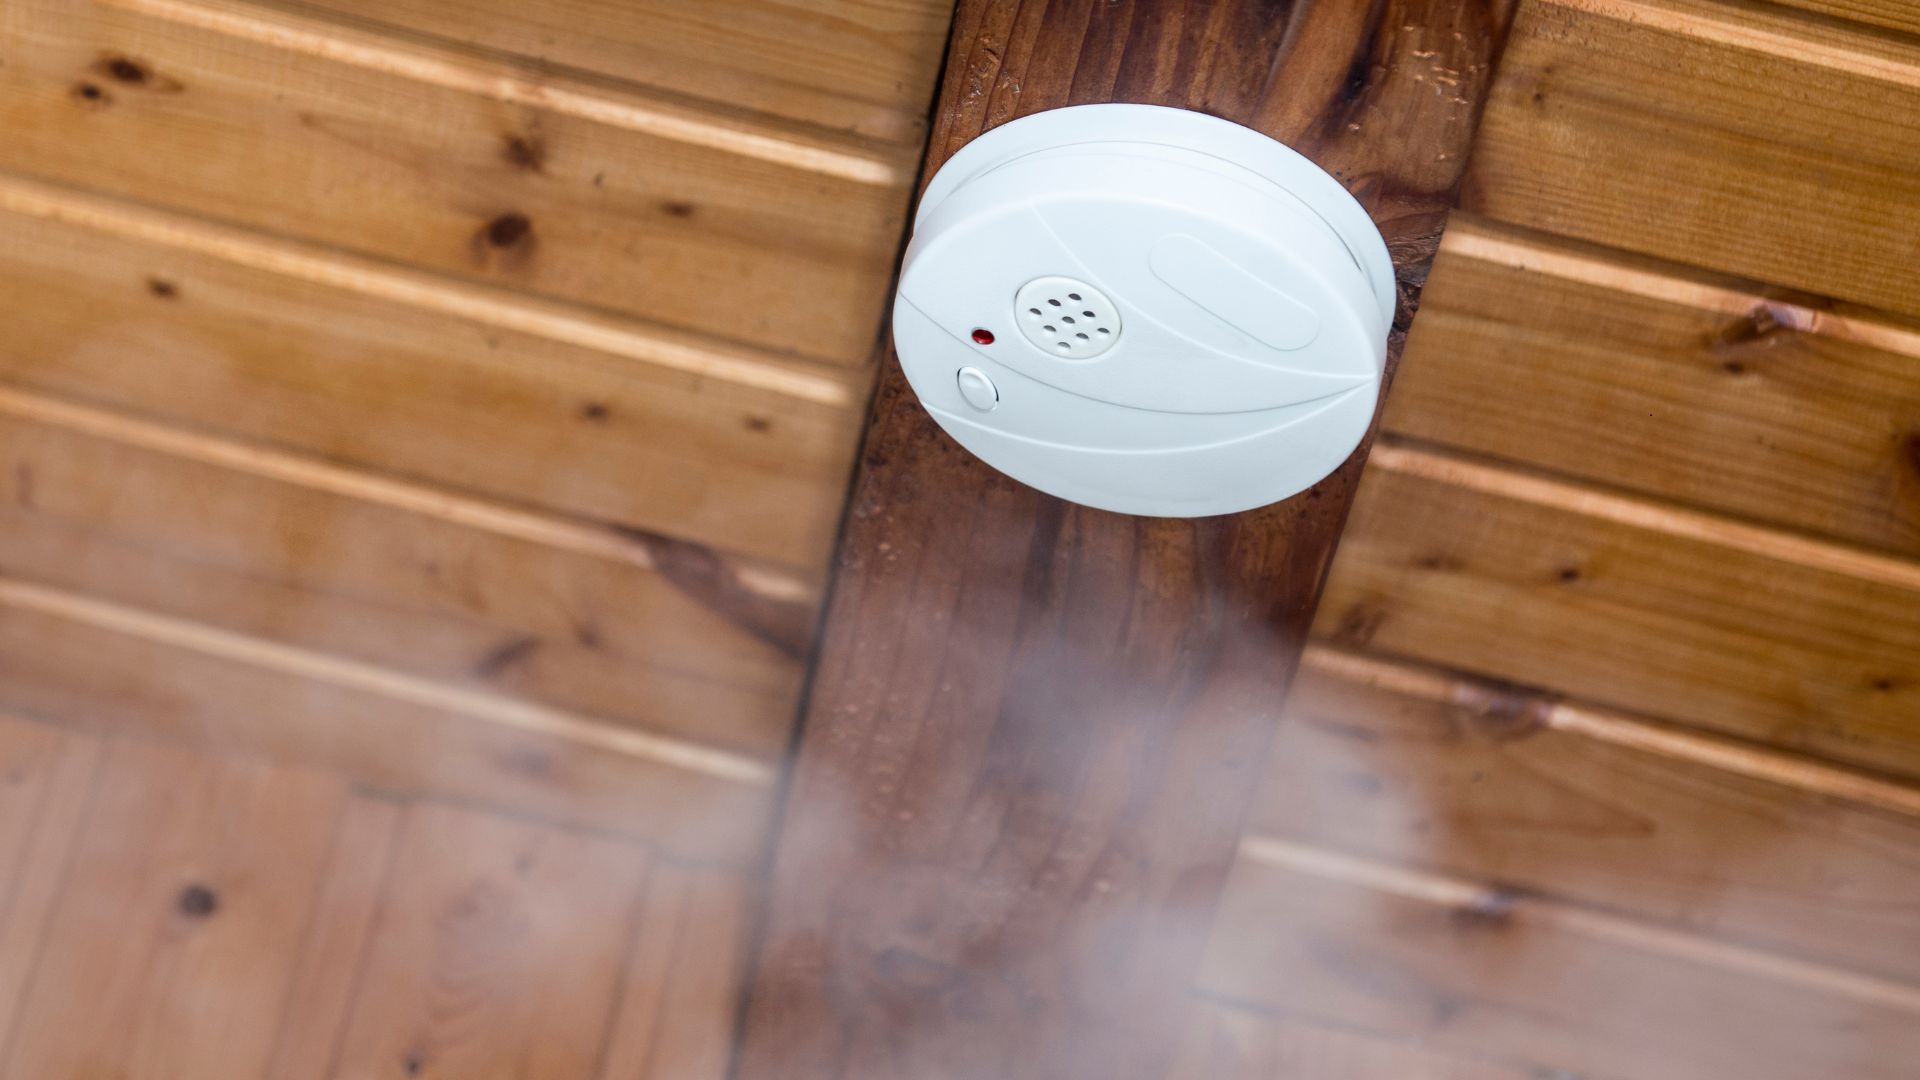
NSW requires photoelectric smoke alarms, as ionisation alarms no longer meet the Australian Standard requirements for residential properties in NSW.
A photoelectric alarm uses a light beam and a sensor inside a small chamber. When smoke particles enter the chamber, they scatter the light beam onto the sensor, triggering the alarm.
An ionisation alarm uses a small amount of radioactive material to detect changes in electrical current caused by smoke. The problem is that ionisation alarms respond poorly to smouldering fires, which are the most common type of residential fire. They're also prone to false alarms caused by cooking steam, leading people to disconnect them or remove the batteries. That defeats the entire purpose of having an alarm.
Photoelectric models detect smouldering fires faster and produce fewer false alarms. That's why they're the only type that meets the current Australian Standard for NSW homes.
When you're buying replacement alarms, check that the unit complies with AS 3786 and is photoelectric. It should be clearly stated on the packaging.
Why Were These Requirements Introduced?
The push toward interconnected smoke alarms came from research that kept showing the same thing.
Between 2016 and 2021, Fire and Rescue NSW recorded tens of thousands of structure fires resulting in 88 fatalities, 52 of which were classified as preventable. More than 2,300 people were injured.
Most fatal residential fires occur at night, when people are asleep. You can't smell smoke while you're asleep, so a working smoke alarm is the only thing that will wake you.
With interconnected smoke alarms, everyone gets alerted early, no matter where they are. According to fire safety research, the risk of dying in a house fire is roughly halved when working smoke alarms are present. Interconnected systems improve on that further by ensuring everyone in the home is alerted, regardless of where the fire starts. That's why the Building Code of Australia made them mandatory for new builds, and why Fire and Rescue NSW recommends them for every home.
Fire and Rescue NSW has also consistently found that a significant proportion of residential fires involve homes with no working smoke alarm.
Where Smoke Alarms Must Be Installed
| Homes Built After May 2014 | Homes Built Before May 2014 | |
| Bedrooms | Every bedroom and sleeping area | Not required (but recommended) |
| Hallways | Every hallway connecting sleeping areas to the rest of the home | Near bedrooms. If bedrooms are in different parts of the house, near each group. |
| Other storeys | Every storey, even levels without bedrooms | Every level must have at least one alarm |
| Interconnection | Required | Not required (but recommended) |
For a typical three-bedroom, two-storey Wollongong home built after 2014, that means at least five or six interconnected alarms.
Placement Tips
- Install on or near the ceiling, at least 300mm from any wall
- On sloped ceilings, position between 500mm and 1500mm from the highest point
- Avoid dead air spaces in corners where smoke doesn't circulate
- Keep away from kitchens and bathrooms where steam and cooking fumes cause false alarms
- Use a heat alarm near cooking areas instead
Types of Compliant Smoke Alarms for NSW
Not every alarm on the shelf at Bunnings meets NSW smoke alarm requirements. Here's what to look for.
| Alarm Type | How It Works | Best For |
| Hard-wired (mains-powered) | Connects to 240V power supply with a backup battery. Must be installed by a licensed electrician. | New builds and major renovations |
| Sealed 10-year lithium battery | Self-contained unit with a non-removable battery. Available in wireless interconnected models. | Upgrading existing homes without rewiring |
| Wireless RF interconnected | Uses radio frequency to link alarms. Some brands connect up to 24 units. | Older Wollongong homes where you want interconnected coverage without tearing into walls |
Every alarm must comply with Australian Standard AS 3786. Check for the certification mark on the unit. Smoke alarms must be replaced every 10 years from the date of manufacture, not the date of installation. Check the manufacturer's instructions and the date printed on the alarm itself.
Standard 9V battery alarms don't meet current NSW smoke alarm requirements. If that's what you've got, it's time to upgrade.
What Happens If You Don't Comply?
The direct penalty is a fine of up to $550 under NSW legislation, but the real consequences go further.
Non-compliant smoke alarms can delay property settlements, create liability issues for landlords under the Residential Tenancies Act, and raise questions with insurers when you make a claim. Some insurers may also review premiums or coverage conditions for properties that aren't up to code.
And beyond the paperwork, non-compliant alarms put people at risk. That matters more than any fine.
Why You Need a Licensed Electrician
In NSW, only a licensed electrician can install hard-wired smoke alarms. It's electrical work, and it must comply with AS/NZS 3000 (the Wiring Rules). After installation, you'll receive a Certificate of Compliance for the electrical work.
A licensed electrician will ensure your alarms are correctly installed and positioned, properly interconnected, and compliant with Australian Standard AS 3786.
How Easther Electrical Can Help
We install and upgrade interconnected smoke alarm systems across Wollongong and the wider Illawarra region.
We start by checking what you've got, then recommend the most practical way to get compliant based on your home's build date, layout, and wiring. We also work with real estate agents and property managers who need properties brought up to standard before settlement or new tenancy agreements. If you're on a tight deadline, we'll prioritise it.
Is Your Wollongong Home Protected?
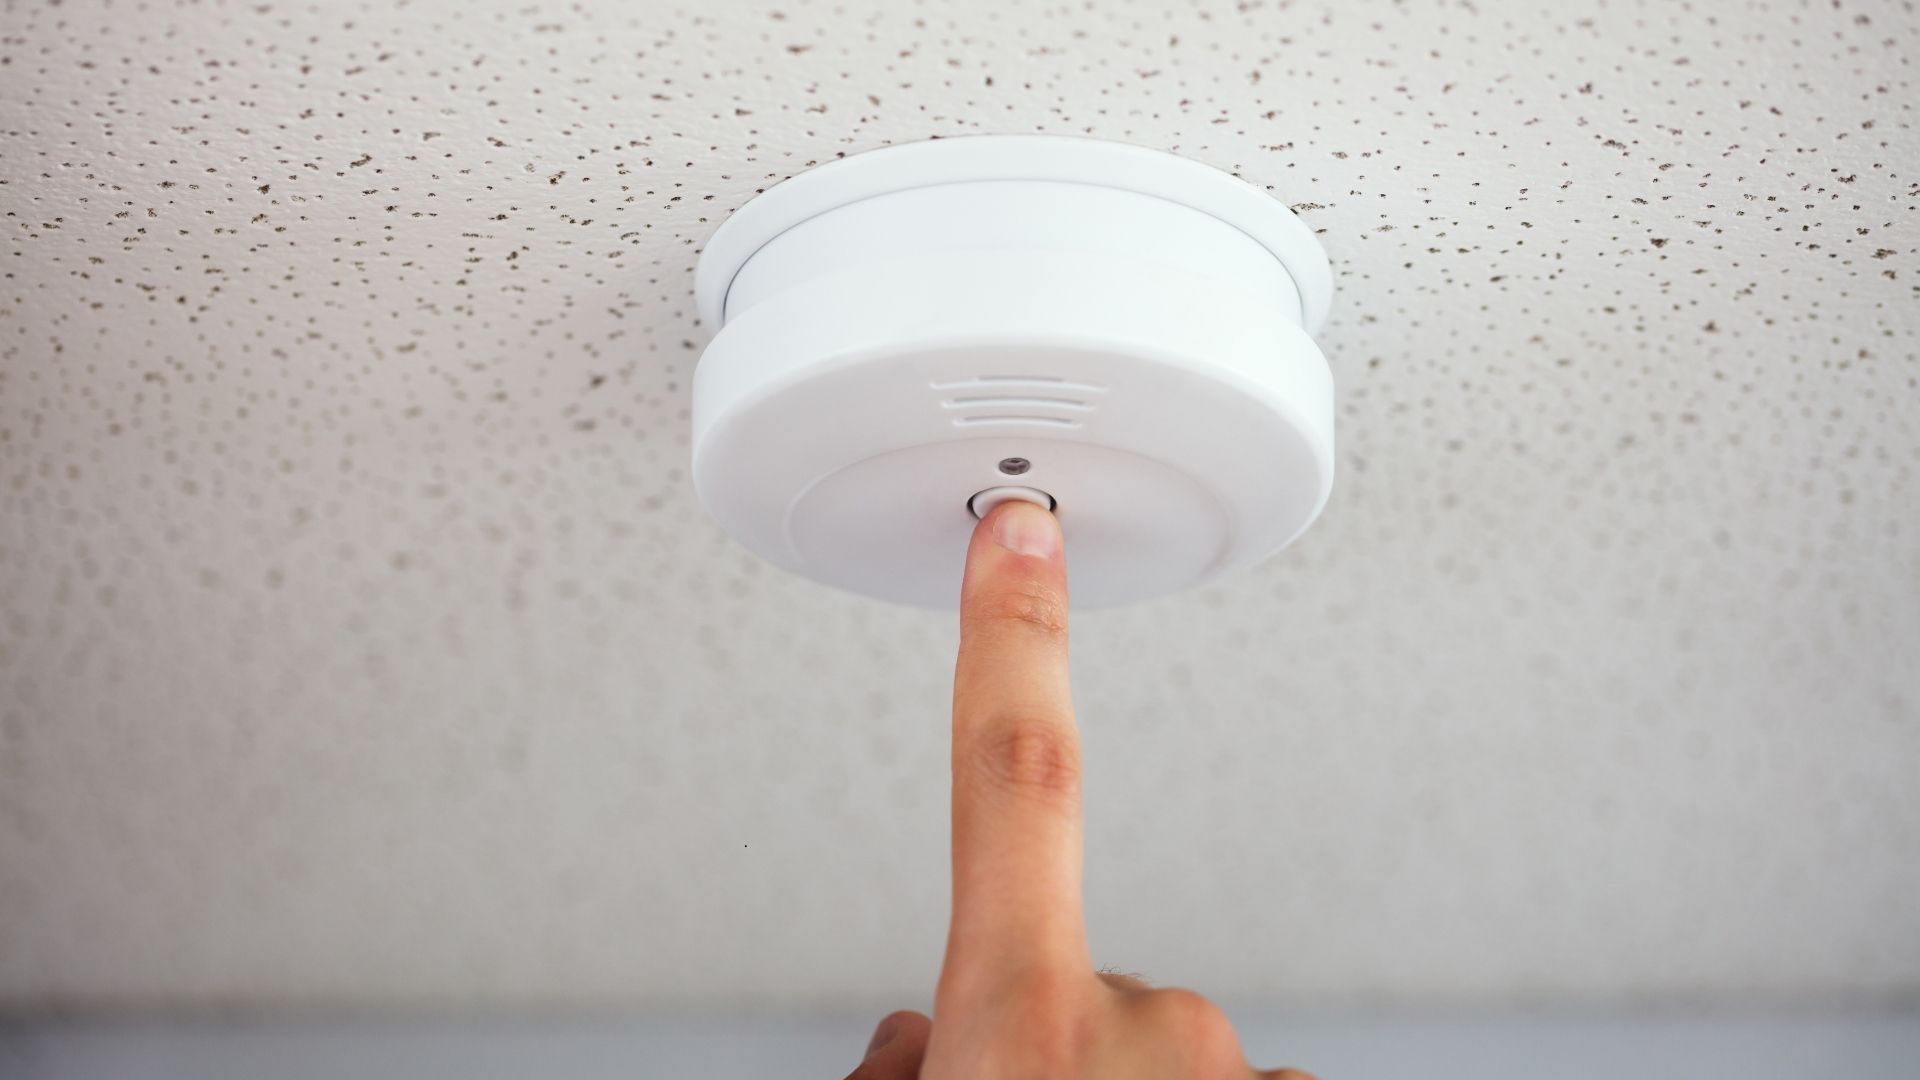
Smoke alarm compliance isn't just a box to tick before settlement. It's about making sure the people in your home can get out safely if a fire starts.
If your home was built after 2014 and your alarms aren't interconnected, you're not compliant. If your home is older and you've only got a couple of standalone alarms from 2015, those are approaching their 10-year replacement date.
And if you're a landlord or about to sell, getting this sorted now avoids delays, penalties, and difficult conversations with agents or tenants down the track.
We do smoke alarm assessments and installations across Wollongong, from Thirroul to Shellharbour and everywhere in between. Get a free quote or call 02 4256 5899.
Frequently Asked Questions
Do I need interconnected smoke alarms if my home was built before 2014?
Not legally, as long as you have at least one working alarm on every level. But Fire and Rescue NSW strongly recommends interconnected photoelectric alarms for all homes, regardless of build date.
Can I install interconnected smoke alarms myself?
Wireless battery-operated models can technically be DIY. But hard-wired systems must be installed by a licensed electrician. We'd recommend professional installation for all types to ensure proper placement and testing.
How often do smoke alarms need to be replaced?
Every 10 years from the date of manufacture, not from the date of installation. Check the label on the back of your alarm.
How do I maintain smoke alarms?
Test the button monthly. Vacuum around the alarm every few months to stop dust from blocking the sensors. Replace backup batteries annually. Landlords should also arrange a professional inspection at least once a year.
What if I have a large or multi-storey home?
Every bedroom, connecting hallway, and storey needs an alarm. Wireless systems can link up to 24 units, so even complex layouts are covered without running cables between floors.
What about garages, kitchens, and bathrooms?
Use heat alarms in garages and near cooking areas instead of smoke alarms, which are prone to false alarms in these spots. You should also consider carbon monoxide sensors if your property has gas appliances or an attached garage.
I'm selling my Wollongong home. What do I need to do?
Check when your home was built. Post-May 2014 homes need interconnected, mains-powered alarms. Older homes need at least one working alarm per level. Either way, interconnected photoelectric alarms will avoid delays during the sale process.
I'm a landlord. What are my obligations?
Alarms on every level, annual checks, faulty alarms replaced within 2 business days, and any alarm over 10 years old is replaced. Post-May 2014 properties must have interconnected alarms. Documentation protects both you and your tenants.
You see electric vehicles everywhere in Wollongong now. And if you've just bought an electric car, you're probably wondering which home charger to install.
It's not as straightforward as it should be. There are different power levels, brands, features, and prices. Some electric vehicle chargers cost $700, others $1,600. Some plug into regular outlets, others need three-phase power.
It comes down to what your car can actually handle, what power supply you've got at home, how far you drive each day, and whether you'll actually use smart features.
Here's what actually matters when you're choosing a charger for your home.
The Three Types of EV Charging
| Charging Level | Power Output | Range Per Hour | Time to Full Charge | Best For | Installation |
| Level 1 (Standard outlet) | 2.4kW (depending on socket and EVSE limits) | 10-15km | 24+ hours | Emergency backup only | Plug into regular socket |
| Level 2 (Home charger) | 7kW - 22kW | 40km (at 7kW) | 6-8 hours | Daily home charging | Hardwired by electrician |
| Level 3 (DC Fast) | 50kW+ | 300km+ | 30-60 minutes | Commercial/public only | Not available for homes |
Level 1 Charger
Most people start with Level 1, which just plugs into a power point wall socket. However, the charging speed isn't sustainable for daily use, as it takes over 24 hours to fully charge a flat battery.
Level 2 Charger
Level 2 chargers are what almost everyone ends up installing. This type of charger is hardwired and adds about 40km of range per hour at 7kW. Plug your car in when you get home from work, and you'll have a full battery by morning.
Level 3 Charger
Level 3 chargers are the commercial units at shopping centres and service stations. The power draw is too high for residential use, the equipment costs $30,000+.
What Actually Matters When Choosing a Charger
Your Car's Charging Limit
Your EV has a maximum charging speed built in. You can't exceed that, regardless of which home EV charger you install.
A BYD Atto 3 maxes out at 7kW. An MG ZS EV? Also 7kW. Tesla Model 3 can do 11kW. So if you own a BYD and buy a 22kW charger, you've wasted money. Your car still only charges at 7kW.
Check your vehicle specs before buying anything. Here's what common models can handle:
| EV Model | Max Charging Speed |
| Tesla Model 3/Y | 11kW |
| BYD Atto 3 | 7kW |
| MG ZS EV | 7kW |
| Hyundai Ioniq 5 | 11kW |
| Polestar 2 | 11kW |
Single-Phase vs Three-Phase Power
Most Australian homes have single-phase power. That caps you at 7kW.
Three-phase power is less common. You'll mainly see it in newer homes, bigger properties, or places where someone's paid for an electrical upgrade. With three-phase, you can install 11kW or 22kW chargers.
Open your meter box and look. Single-phase has one thick wire, whereas three-phase has three. Sometimes your electricity bill will tell you too.
The thing is, 7kW handles normal driving fine. Do 50km a day, plug in for eight hours, and you're adding 320km of range. That's more than most people need.
The distance between your switchboard and where you park matters, too. The further apart they are, the more cable your electrician needs to run, which increases the cost.
How Much You Actually Drive
Be realistic about your daily driving. Most overestimate what they need.
Many Wollongong commuters drive around 40-60km per day. Even if you only charge for six hours overnight, a 7kW charger adds 240km of range, which would be more than enough.
You only need faster charging if you're regularly doing 150km+ days or you can't charge your EV battery overnight for some reason.
Smart Chargers vs Basic Ones
Basic chargers have one job: charging your car when it's plugged in.
Smart chargers connect to WiFi and let you control things through an app. You can schedule charging times, monitor energy use, and set charging to occur only during off-peak electricity hours when electricity is cheaper.
Some smart chargers can also work with solar power systems. They'll prioritise charging when your solar panels are producing excess power.
The price difference is usually $300-600. Whether that's worth it depends on your electricity tariff and whether you have time-of-use pricing. If you're on a flat rate all day, smart features don't save you much.
Cable Attached or Not?
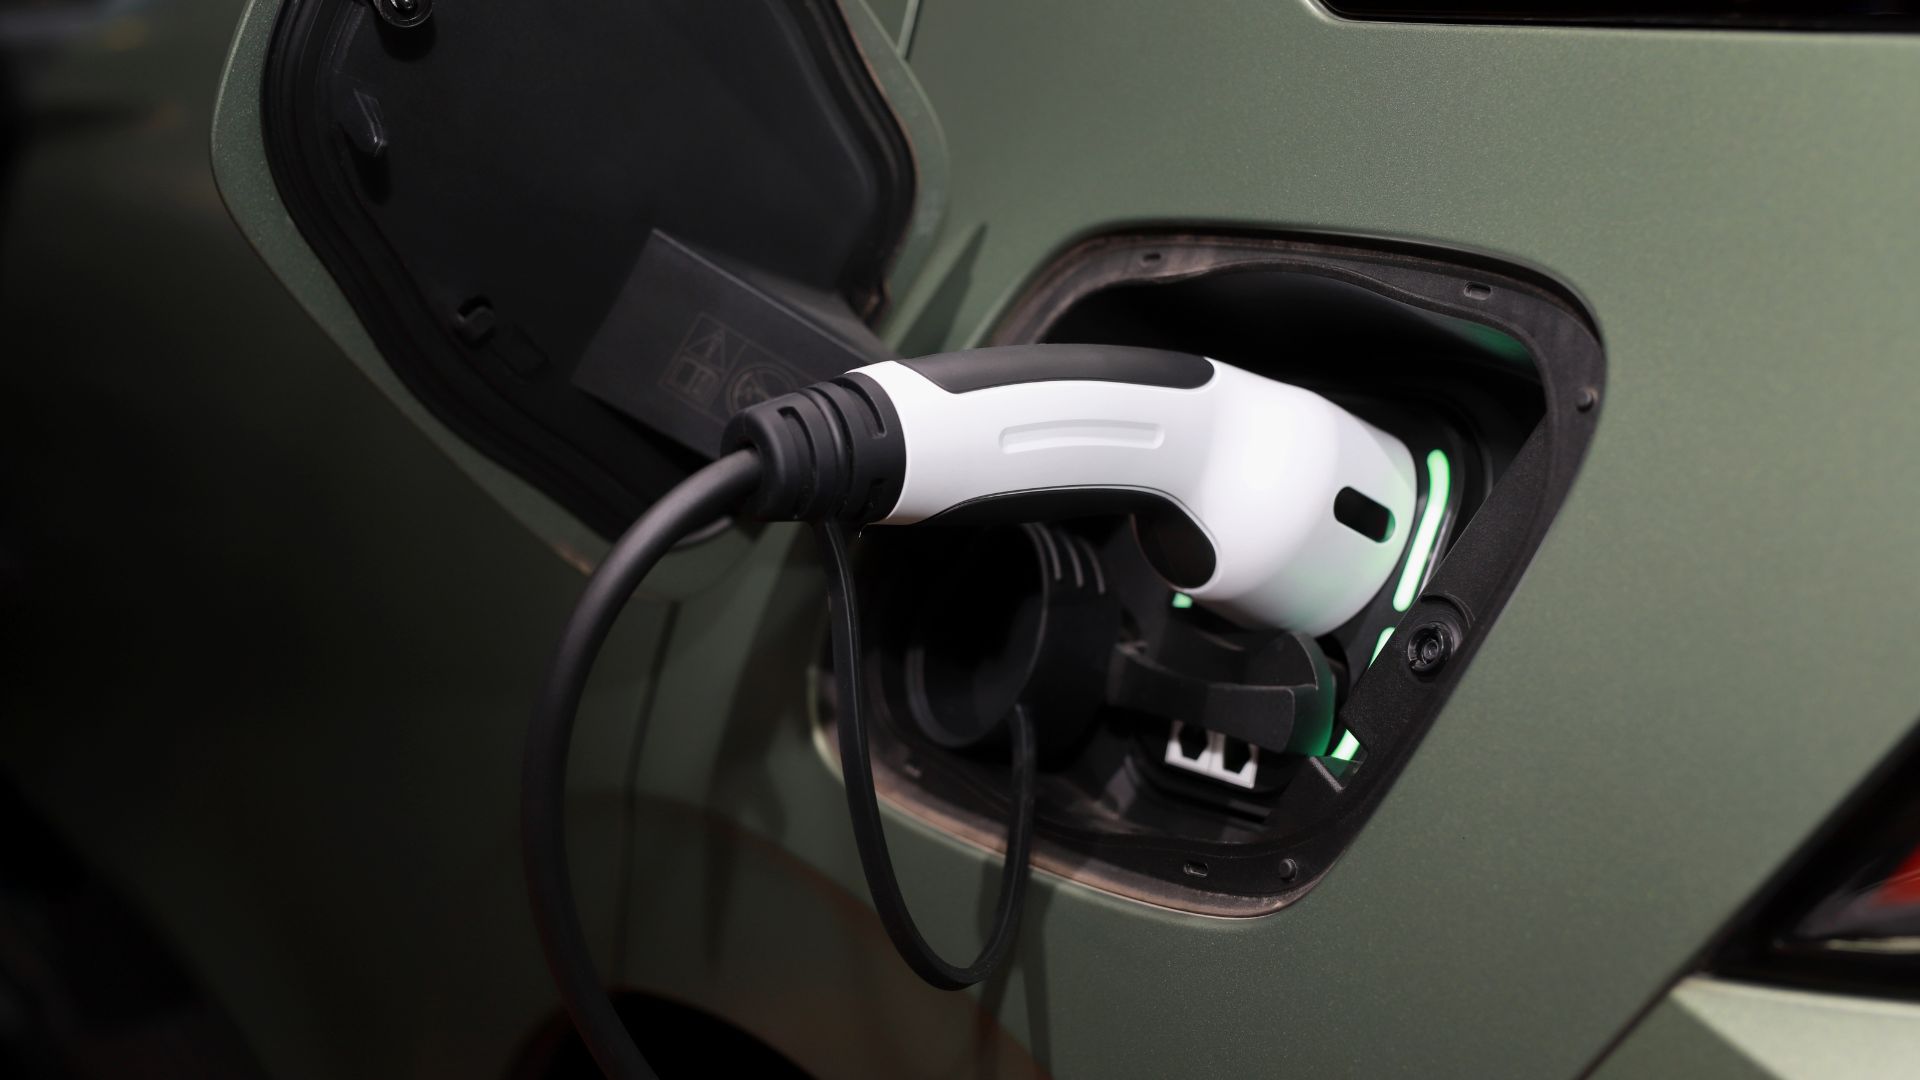
Tethered chargers have the cable permanently attached. Untethered ones need you to use your own cable (the one that came with your EV).
Tethered is more convenient. You just pull up and plug in. But if you think you might own multiple EVs or want flexibility down the track, untethered makes more sense.
If you live in a coastal area, tethered cables sit outside exposed to the weather. Salt air and UV wear them down over time. Whatever charger you choose, make sure it's got an IP65 rating or better for weather resistance.
Common Mistakes When Choosing an EV Charger
Buying a Charger Before Checking Your Car Specs
A 22kW charger won't make your 7kW BYD charge any faster. You're paying extra for power your car can't use.
Forgetting to Measure the Cable Reach
Most cables are 5-7 metres. If your charging port ends up on the opposite side of where you mount the charger, you'll have to stretch the cable across your driveway every night.
Not Considering a Second EV Down the Track
If your partner buys an EV in a few years, can your system handle two chargers running at once? Some smart chargers can split power between multiple cars, which saves you from expensive upgrades later.
Where to Install Your EV Charger
Inside Beats Outside
Garages are best. The charger stays dry, it's more secure, and the weather doesn't beat it up. But if you park outside, just get one rated for outdoor use (IP65 or higher).
Cable length matters more than people think. Most cables are 5-7 metres. Measure the distance from where you'll bolt the charger to where your car's charging port sits when parked.
Distance From Your Switchboard Matters
The further your charger is from your switchboard, the more the installation costs. The electrician must run a dedicated circuit from the switchboard to the charger. More cable, more digging, more money.
If you're mounting it 30 metres away on the far side of your property, expect a bigger bill.
Salt Air Wrecks Things
Coastal homes are exposed to salt air, so get a charger with stainless mounting hardware and a proper weather rating. Tethered chargers have the cable permanently attached and sitting outside, so UV resistance actually matters.
And don't mount it so low that the plug ends up sitting in a puddle when it rains. About chest height works.
A Few Charger Options to Consider
| Charger | Power | Price (unit only) | Best For |
| Tesla Wall Connector | Up to 11kW | $750-850 | Tesla owners, but works with other EVs using an adapter. Built-in WiFi and can share power between multiple units. |
| Ohme Home Pro | 7kW | $900-1,100 | Good value for smart features. App control and scheduled charging work well if you're on time-of-use rates. |
| Zappi | 7kW | $1,400-1,600 | Best if you've already got panels installed. Built for solar system integration with different eco modes. |
Installation adds another $600-1,500, depending on your setup.
You Need an Electrician to Install It
Don't try installing an EV wall charger yourself. It's illegal in NSW, voids your warranty, and is genuinely dangerous.
EV chargers draw serious power. They need their own circuit, proper safety switches, and correctly sized cable. A licensed electrician will:
- Check your system can handle the load
- Install the dedicated circuit with appropriate protection
- Mount and wire the charger properly
- Test everything and give you compliance certificates
Installation costs depend on your setup. If your parking spot is close to the switchboard and you don't need upgrades, expect to pay less. Long cable runs, buried conduits, or three-phase installations cost more.
Most standard installations in Wollongong run between $600 and $1,500.
How to Choose Your EV Charger
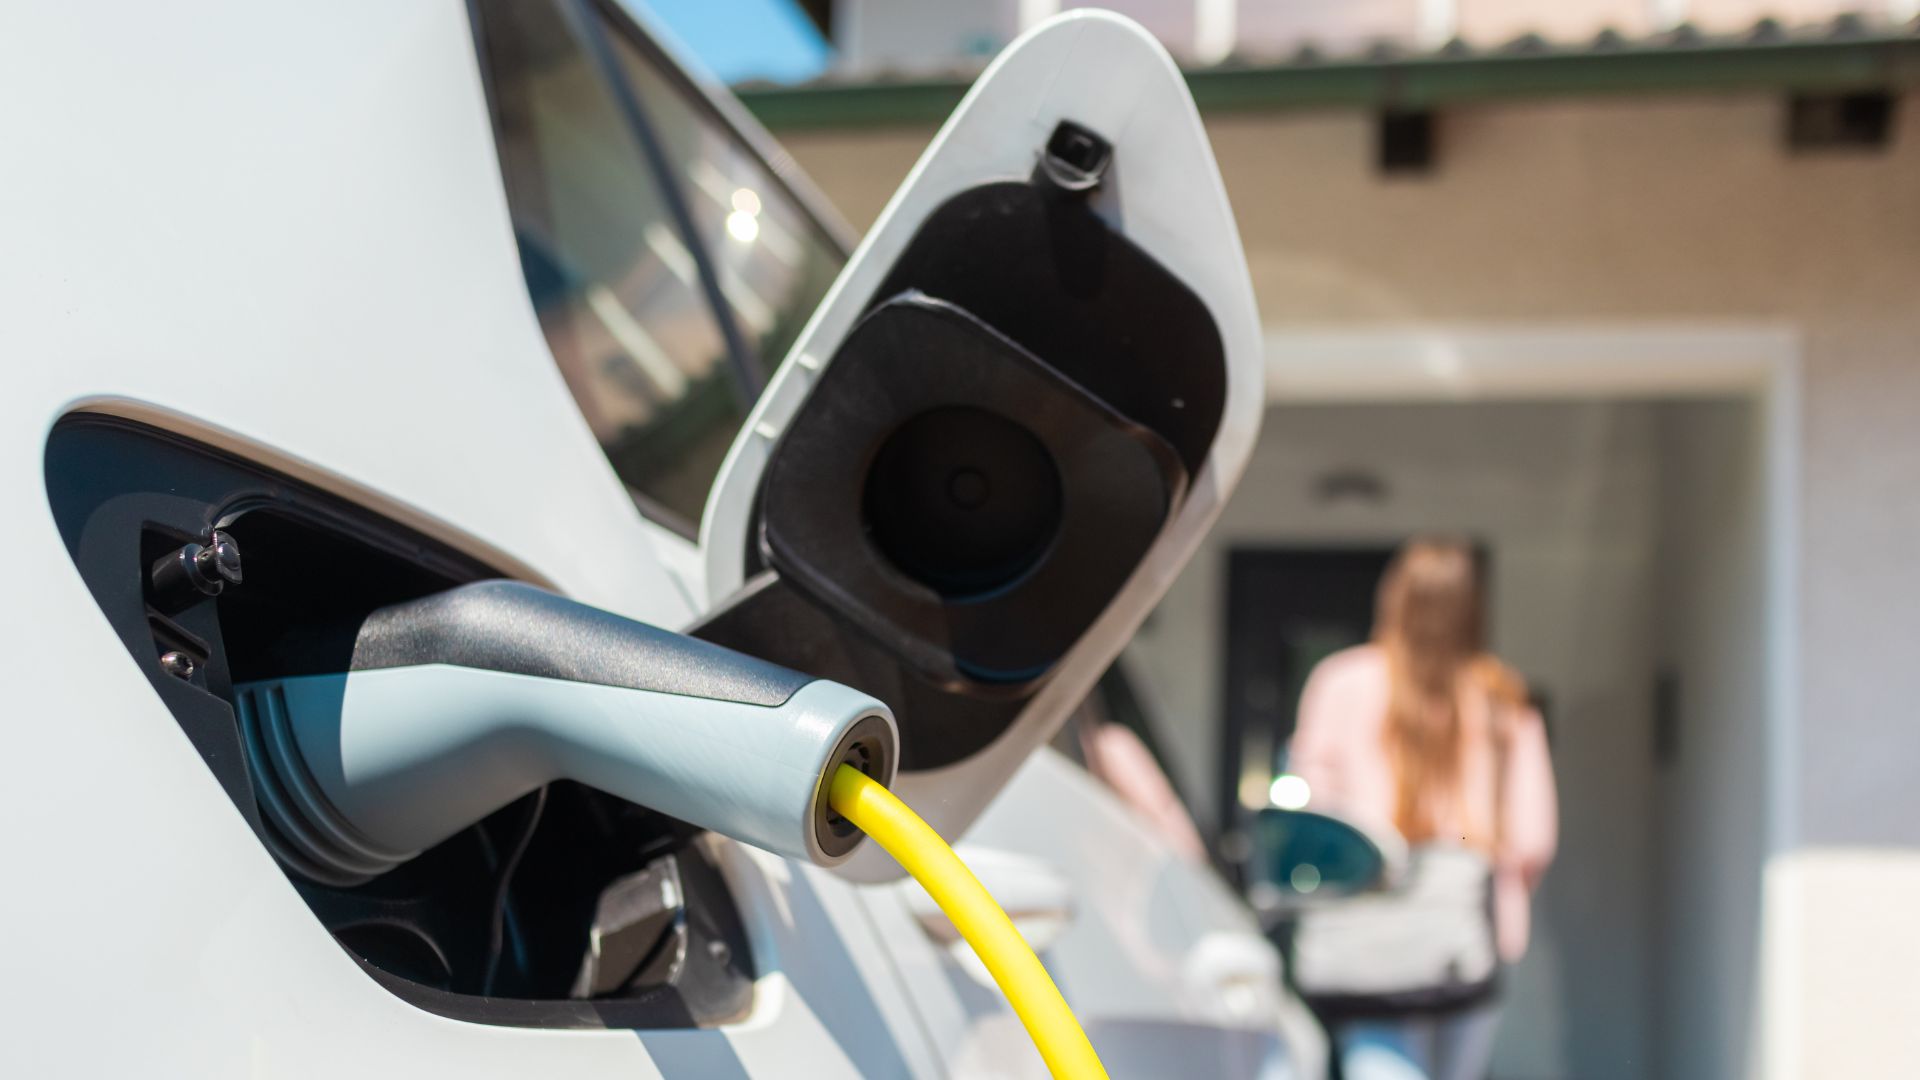
Look up what your car can handle first. A BYD Atto 3 maxes out at 7kW. Tesla Model 3 does 11kW. Buying a faster charger won't speed things up if your car can't use it.
Then work out what power you've got. Most homes in Australia run on single-phase power, which means you're stuck at 7kW. Three-phase power lets you go higher, but that's mostly newer houses or bigger properties.
How far do you drive most days? If it's the usual 40-60km around Wollongong, a 7kW charger gives you about 240km overnight. More than you need unless you're regularly covering big distances.
Smart chargers let you set charging times through your phone. The real benefit is charging when power's cheap if you're on time-of-use rates. That can save you hundreds a year. If you pay the same rate all day, smart features don't do much for you.
They also work with panels if you've already got them. But if you don't have off-peak rates or panels, you're probably paying for features you won't use.
A 7kW charger covers daily driving for most people here. Smart or basic depends on whether you'll actually save money with scheduled charging.
Once you've figured out what you need, you'll need a licensed electrician to install it properly.
Get It Installed Properly
What works for your neighbour might not work for you. If they've got three-phase power and a Tesla, that's different to you running a BYD off single-phase in a 1970s house.
Easther Electrical installs EV chargers around Wollongong. We'll come check your setup, work out what charger suits your car and how much you drive, then get it installed so you can enjoy your new electric vehicle!
Common Questions
How long does installation take?
Usually 2-4 hours if everything's straightforward. If your switchboard needs work or the cable run's a pain, this will obviously take longer depending on your needs. When you speak with your electrician, ask for a timeline when they provide you with a quote.
What's it cost to run?
Say you drive 50km a day. That's about 10kWh of power - roughly $3-4 a day at NSW rates. Works out to about $90-120 a month. Compare that to what you'd spend on petrol for the same distance. Most people charge overnight when rates are cheaper if they're on a time-of-use tariff.
Can two cars share one charger?
They can, but not at the same time unless you've got a load-sharing setup. Most people just rotate - one car tonight, the other tomorrow night. Or install two chargers if your system can handle it.
Do I need council approval?
Not usually for a basic home install. But if you're in a unit or doing major electrical work, check with strata or council first.
Electric vehicle sales in Australia went up 120% in 2023, and Wollongong is no different.
If you have bought an electric vehicle, your house needs to be set up properly before you can charge at home. Having a power point in the garage isn't enough.
Installing a charger can get complicated, especially in older houses. You need to figure out what your electrical system can handle, where the charger should go, what upgrades you'll need, and how much it's all going to cost.
Let's break it down.
Work Out What Kind of Charger You Need
Level 1 vs Level 2 Charging
Most people think all EV chargers are the same. They're not. There's a massive difference between Level 1 and Level 2 charging, and it affects how usable your EV actually is.
Level 1 charging uses a standard 10-amp power point. It adds around 10-15 kilometres of range per hour. That's painfully slow for most people.
Level 2 is what you want. These run at 7kW or more on a dedicated circuit. You'll get 40-50 kilometres of range per hour. A Tesla Model 3 with a 60kWh battery will take around 8-9 hours from empty to full. The same car on Level 1 takes over 24 hours.
How Much Charging Do You Actually Need?
Think about your daily driving. Most people in Wollongong cover 40-60 kilometres a day during work, school runs, and errands.
EVs use roughly 15-20kWh per 100 kilometres. If you drive 50km daily, you're using about 7.5-10kWh. A 7kW charger replaces that in 90 minutes.
Overnight charging works for most people. But if you're doing Sydney trips weekly or driving 150km+ daily, you'll need faster charging. An 11kW or 22kW charger will do the job, but these require three-phase power. Most homes only have single-phase, so you'd need an electrician to check what's possible at your place.

Formula: Daily km ÷ 100 × your EV's kWh/100km rating = daily kWh needed
Check If Your Electrical System Can Handle It
Your Switchboard Matters More Than You Think
Open your switchboard and look at the main switch. It'll show the amperage, which is usually 63A or 80A in most homes around here.
That number matters because a 7kW EV charger needs a dedicated 32A circuit. And everything else in your house is already running off that same service.
If you have any of these, it is time for an upgrade:
- Ceramic fuses instead of circuit breakers
- No safety switches installed
- Rust or corrosion anywhere
- Breakers that trip regularly
- House built before 1990
Many older Wollongong homes have outdated switchboards that can't handle an EV charger. If your switchboard is old, you'll need to upgrade it first.
Can Your Home Handle the Extra Load?
Your main switch might say 80A. At 230V, that's about 18.4kW total capacity. Add up what runs at the same time during peak hours: air con (3-5kW), oven (2-3kW), hot water (3-4kW), maybe a pool pump (1-2kW), plus general stuff (2-3kW).
You're already at 11-17kW. Add a 7kW charger and you're pushing it.
Most electricians will do a load calculation when they assess your place. We measure what your home actually uses and figure out if the existing service can handle an EV charger. If it can't, you need a service upgrade through Endeavour Energy.
Endeavour Energy upgrades take 2-4 weeks, depending on where your house sits and what work's involved.
The Dedicated Circuit Requirement
EV charging stations must run on their own circuit. Nothing else on that line.
For a 7kW charger:
- 32A circuit breaker
- Type A RCD (that's a safety switch)
- 6mm² cable minimum
- Proper earthing and protection
Cable size goes up if you're running a long distance from the switchboard to where the charger sits. Your electrician calculates this based on Australian Standard AS/NZS 3008 to prevent voltage drop.
In NSW, safety switches are mandatory. If your board doesn't have them, they must be installed along with your home EV charger.
Where Should the Charger Actually Go?
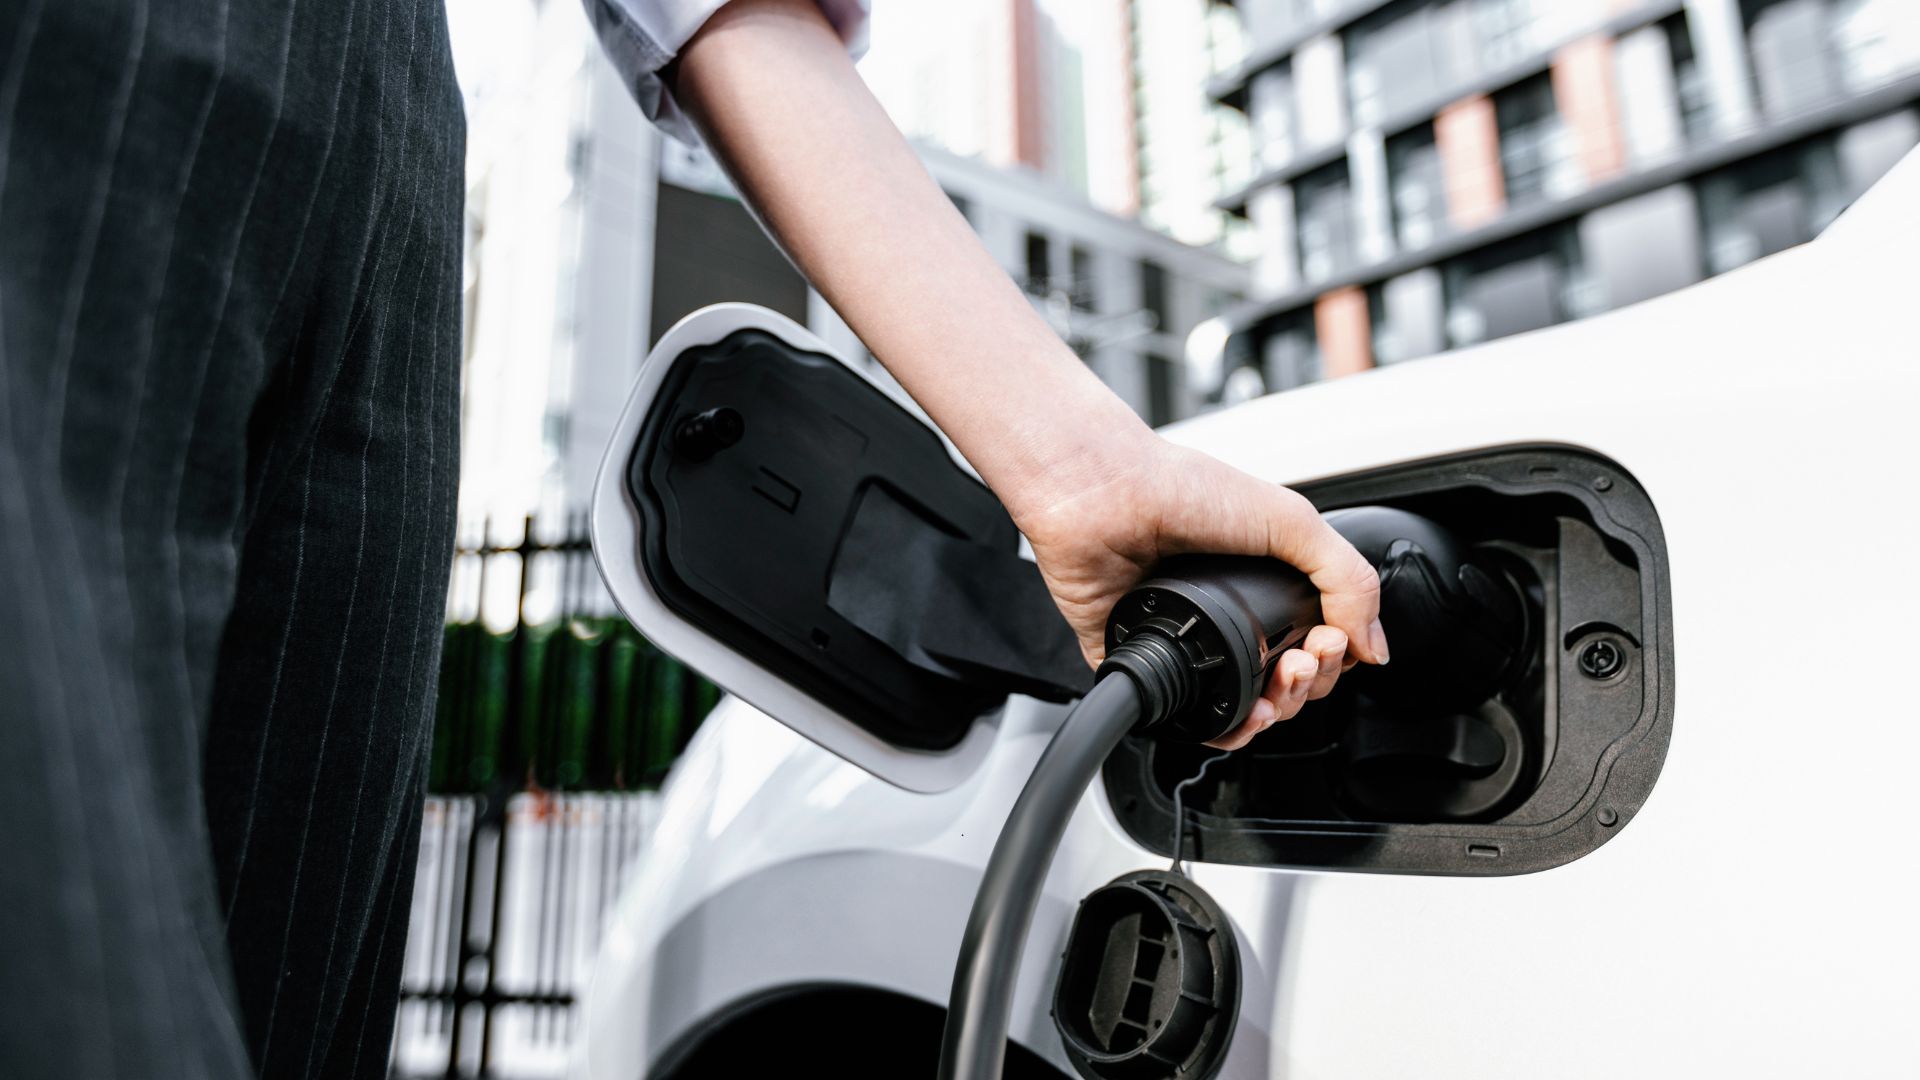
Garage or Outside?
Most people put chargers in the garage or under a carport. It's protected, usually close to the switchboard, and keeps everything tidy.
You can install outside, but you need the right IP rating. With Wollongong's coastal climate, you want at least IP54, better yet IP65. Otherwise, you'll get corrosion and water damage.
Garages work better for most people because:
- No weather exposure
- Usually closer to the switchboard (cheaper installation)
- Easier cable management
- Charger lasts longer
Installing the charger outdoors makes sense if you park on the street side of your house, or your garage is nowhere near where you actually park.
Distance from the Switchboard Changes the Price
Every metre of cable adds cost. If the EV charger is being installed close to your switchboard (10-15 metres), it is an easy job. Further out will cost you more. Long distances mean more work: trenching, protective conduit, junction boxes, or upgraded cable to handle voltage drop.
The maximum practical distance is about 50 metres for residential jobs. Beyond that, you get a significant voltage drop even with big cables, and the cost goes up.
Think About Where Your Car's Charging Port Is
EV charging ports aren't standardised. Tesla puts theirs on the rear left, Nissan Leaf at the front and Hyundai Ioniq 5 rear right.
Charging cables are typically 5-7 metres. Where will you park your car? Where will the port be? Mount the charger so the cable reaches without stretching across walkways.
If you own more than one electric vehicle, put the charger where it can reach both parking spots, or add a second one while your electrician is on-site. It's cheaper than a second callout.
Get a cable holder too. It keeps cables off the ground and makes a difference.
What to Do Before the Electrician Shows Up
Paperwork and Approvals
All electrical work in NSW needs a Certificate of Electrical Compliance. Your electrician sorts this out and issues it after the job's done and inspected.
Wollongong Council doesn't need separate permits for electric car chargers in most cases. It's minor electrical work. But if you're in a unit or townhouse with strata, there's more information below in the Rentals and Strata section.
Get Your Switchboard Assessed First
Book an electrical assessment before you get installation quotes. This tells you what electrical upgrades you need.
Common upgrades we see in Wollongong:
- Switchboard replacement - Old ceramic fuse boards get swapped for modern circuit breaker boards.
- Safety switches - Depending on what you currently have installed.
- Main switch upgrade - Going from 63A to 80A or 100A.
- The dedicated EV circuit - This is usually included in the installation quote.
The assessment takes maybe 30-45 minutes. You will get a written report explaining what's needed and why.
Clear the Area and Document Everything
Before installation day, clear the space where the charger will go. Move your car and anything near the switchboard. The electrician needs clear access between both spots.
Take photos of where the charger will mount and measure the distance to your switchboard. Note any
obstacles in between—walls, gardens, or paths that might complicate the cable run.
If trenching's needed, call 1100 (Dial Before You Dig) to locate underground services. Mark irrigation lines or garden lighting cables. Clear garden beds along the cable route.
What It Actually Costs in Wollongong
A standard home EV charger installation includes labour, materials like cable and conduit, and electrical work. The price depends on your home's setup.
If your switchboard is ready, the charger location is close (within 15 metres), and there's no trenching needed, the job is straightforward.
But costs go up if you need:
- A switchboard upgrade
- Trenching to run cable underground
- Conduit for exposed cable runs
- An Endeavour Energy service upgrade for more power capacity
- A higher-spec charger unit with extra features
Most Wollongong homes need at least one of these extras. A switchboard upgrade is the most common.
The NSW government runs electric vehicle incentives that can reduce your costs. They change frequently, so check what's available before you book.
How Long Does It Take
Most straightforward installations take 3-6 hours and get done the same day. But if your switchboard needs upgrading, the job spans an additional 4-6 hours. We do the upgrade, get it inspected, then come back to finish the charger once it's approved.
Endeavour Energy service upgrades slow things down more. They need to schedule and do their work first, which adds 2-4 weeks to the timeline. Your electrician handles the coordination.
You'll get your Certificate of Compliance within 2 business days after everything's finished.
One booking tip: avoid December to February if you can. April to October usually has better availability.
Smart Chargers vs Standard Ones
Standard home EV chargers work like a phone charger—plug in and they start charging. That's it.
Smart chargers connect to WiFi and give you more control:
- Schedule charging for off-peak rates (10pm-7am in NSW when electricity's cheaper)
- Monitor your home's total power use and adjust charging so you don't overload
- Track usage and costs
- Start/stop from your phone
Choosing an Electrician Who Knows EV Chargers

Not every electrician has EV charger experience. Check they're:
- Licensed in NSW (Service NSW website)
- Carrying public liability insurance
- Familiar with AS/NZS 3000/3008 and NSW Installation service rules requirements
- Experienced with EV installs (ask how many)
Good ones offer detailed quotes, free assessments, clear upgrade explanations, 12-month warranties, and have Wollongong reviews.
Questions Worth Asking
- How many EV chargers have you installed around Wollongong?
- What brands do you recommend and why?
- Does my switchboard need work?
- What's the total cost, including potential upgrades?
- How long will it take?
- What warranty comes with the installation?
- Will I need an Endeavour Energy upgrade?
- What certification will I get?
- What maintenance is needed?
Red Flags
- Quoting over the phone without seeing your switchboard.
- Can't explain what upgrades are needed.
- No written quote or warranty.
- Pressuring you to book immediately.
- Way cheaper than everyone else (corners get cut somewhere).
Making Sure It's Safe and Legal
Australian Standards for EV Chargers
Your installation has to meet AS/NZS 3000, 3008, and 3123. That's the wiring rules, cable selection, and EV-specific standards.
If the charger is being installed outside, you need at least an IP54 rating. Go IP65 if you're near the coast because salt air's a problem.
Your electrician will sort out circuit breakers, RCD protection, earthing, cable sizing, and weatherproofing if it's an outdoor installation.
After Installation
You'll get a Certificate of Electrical Compliance when the job's done. Keep it safe—you'll need it for insurance, council records, and when you sell the house.
Your electrician tests everything before handing over the keys. They check the safety switches, earthing, and that power's flowing correctly.
Maintenance is simple. Keep the charger clean and cables out of the way, that's it.
Dealing with Tricky Situations
Older Houses
Pre-1990 homes often have wiring that wasn't designed for modern loads. Even if your switchboard looks okay, the house wiring might be undersized or deteriorating.
Switchboards from the 70s and 80s sometimes have asbestos backing. Your electrician will spot it and handle it safely during the upgrade. Older homes also tend to have longer cable runs because garages were added later or sit further from the main board. That pushes the cost up, but it's manageable.
Heritage properties sometimes have restrictions on external electrical work. Garage installs usually dodge this. But if you're mounting outside, check with the council first.
Rentals and Strata Buildings
Renters will need landlord permission. Some landlords will say yes because it adds value and appeals to EV drivers (offering to pay also helps). Sometimes they'll agree if the charger stays with the property.
Portable chargers plug into 15A outlets. Slower, but no installation hassles.
If you are with strata, you will need body corporate approval. Write to your owners' corporation with:
- What charger do you want, and where
- Confirmation that it's in your parking space
- The electrician's assessment
- Proof that it meets Australian Standards
Most strata applications get approved these days. Just budget 4-8 weeks for the process.
Getting Started with Your EV Charger Installation
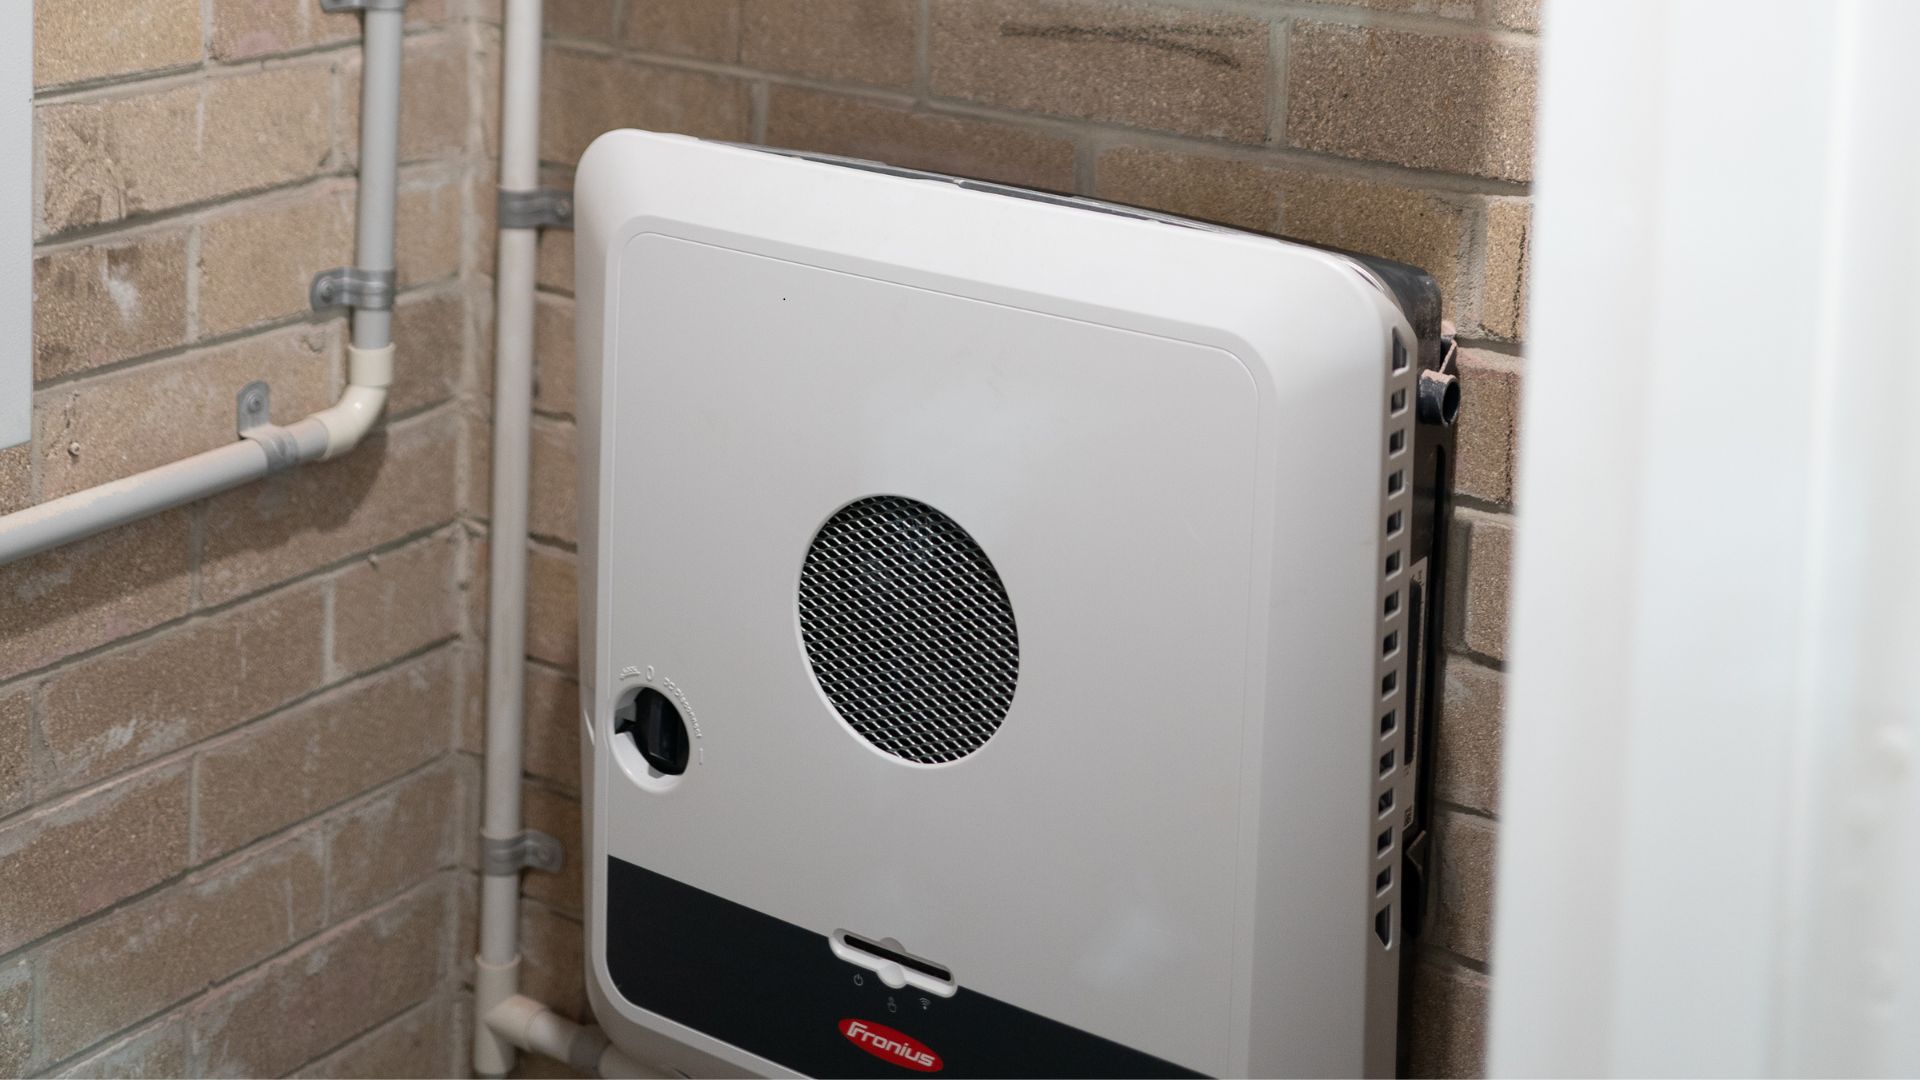
You'll need to sort out a few things before installing an EV charger. Check what your electrical system can handle, pick a charger and work out where it'll go, maybe upgrade your switchboard, and get an electrician who's done these installs before.
Most Wollongong houses are fine for an EV charger without much fuss. Older places might need the switchboard updated, but that's not a bad thing. It makes everything safer anyway.
Work with Wollongong's EV Charging Specialists
We cover Wollongong, Thirroul, Corrimal, Port Kembla and everywhere in between. With us, you’ll get a free assessment first, then a proper quote with all costs spelled out. We do the lot; switchboard and electrical panel upgrades if you need them, right through to certification.
Ring us or use the contact form on our website. We'll check your electrical setup, tell you what charger suits you, and give you the timeline and costs upfront. No mucking around.
Common Questions About EV Charger Installation in Wollongong
Do I need council approval for an EV charger in Wollongong?
No. Wollongong Council doesn't require separate approval for residential EV chargers. It's minor electrical work. But if you're in a strata building, you need body corporate approval first. Your electrician handles all the electrical certifications.
How long does installation take?
Straightforward job? 3-6 hours, done in a day. Switchboard upgrade? 4-6 hours for inspections. Endeavour Energy service upgrade? Add 2-4 weeks for their scheduling.
Can I install a charger if I'm renting?
You need landlord permission for anything permanent. Some landlords approve it because it adds property value. If they refuse, look at portable chargers that plug into existing outlets. They are slower, but no installation is needed.
How much will it add to my electricity bill?
Depends on how much you drive. Someone doing 50km daily uses about 7-10kWh, which costs roughly $2-3 per day at standard rates. Charge overnight on off-peak rates, and that drops to around $1-2 daily. Most people spend $30-55 monthly—way less than petrol.
Do all chargers work with all EVs?
Yes, if they use Type 2 connectors (standard in Australia). All new EVs sold here since 2020 use Type 2. Older models like early Nissan Leafs use Type 1, but adapters exist.
Can I do it myself?
No. In NSW, licensed electricians must do all electrical work. DIY electrical work is illegal, dangerous, and voids your insurance.
Are there government rebates?
NSW EV rebate programs change regularly. Currently, there are rebates for EV purchase, but limited programs for home charger installs. Check the NSW Government EV website.
There’s a reason most people get multiple quotes when hiring tradies; you want to make sure you’re getting a fair price, and that’s smart. But chasing the cheapest deal can sometimes backfire. There are still a few unlicensed operators cutting corners and undercutting qualified electricians to win quick jobs. The result? Reputable teams like Easther Electrical are often called in to fix unsafe or poorly done work, costing homeowners much more in the long run.
As such, we are dedicating this post to electrician costs, specifically in Wollongong. We'll include call-out fees, hourly rates, and what’s actually included, to help you make informed decisions, compare quotes fairly, and ensure you’re not getting taken for a ride. Most importantly, you'll know when you're hiring a licensed professional who’ll get the job done safely, efficiently and to Australian Standards.
Average Hourly Rates for Electricians in Wollongong
The average hourly rate for electrical work will vary depending on the type of job, electrician’s experience and the level of work required. Most businesses offer a standard hourly rate which will increase in line with the complexity of the work.
Prices will be higher for more advanced commercial electrical work and projects that require specialised skills or experience.
What Is a Call-Out Fee?
Call-out fees cover the electrician’s time, travel, and resources. Think fuel, vehicle wear, admin and the initial site assessment of your electrical issue. Higher rates apply for emergencies or after-hours callouts.
For example, if your power suddenly cuts out late at night or there's a burning smell from a power point, that’s considered an emergency call-out. An electrician will attend immediately, but at a higher cost.
Many reputable electricians, including Easther Electrical, will offset the call-out fee against the total cost of the job once work begins. As a result, you’re only paying for genuine service time.
Cost Breakdown by Job Type
While every electrical job is different, here’s a general guide to what Wollongong homeowners can expect for common services. These figures are broad industry estimates, keep in mind that complexity, materials, and accessibility all influence the final price.

*Please note: Prices are subject to change, and specific pricing will depend on the job type. We advise speaking to our electricians about your job to gain your custom quote.
Again, these figures are intended as general estimates, so your actual quote may vary depending on your unique site conditions. That said, a reputable Wollongong electrician will always provide a transparent breakdown of the costs before beginning any job.
Factors That Affect Electrician Pricing in Wollongong
Let’s delve further into what can affect pricing, because several variables can influence the final cost. And understanding these helps eliminate the fear of being overcharged, confusion about call-out fees, and uncertainty about what’s included in quotes.
- Licensing and qualifications – Fully licensed and insured electricians may charge higher rates, but you’re paying for safety, compliance and, most of all, peace of mind.
- Travel distance and access – Jobs located further from the electrician’s base, or in properties with difficult access (like tight roof spaces), can increase labour time and cost.
- Job urgency – After-hours, weekend, or public holiday callouts attract higher rates due to overtime and immediate response requirements.
- Type of property – Commercial sites generally involve more complex systems, higher voltage requirements, and additional safety procedures, which means higher overall costs than standard residential work.
By factoring in these elements, you’ll get a clearer picture of what’s behind a quote. Again, we need to stress, a qualified professional will break all this down for you in an easy-to-understand manner, making them worth every cent.
How Wollongong Prices Compare to NSW Averages
Prices for electrical work varies across NSW, with Sydney typically seeing the highest prices. Wollongong tends to align with pricing in other regional or coastal areas.
Prices are impacted by local demand, distance between jobs, and access to materials.
Tips for Getting a Fair and Accurate Quote
To make getting an electrical services quote feel less confusing or risky, here's a list of tips to help you compare services and avoid surprise costs later on. This will also be handy to print off for reference:
- Ask for itemised estimates outlining the electrical work, including labour, materials, and call-out fees.
- Confirm whether GST and parts are included in the total.
- Ask if they are licensed and insured for electrical systems.
- Compare multiple quotes (we suggest 3) from licensed, insured electricians.
- Look for businesses that promote “no hidden fees” or upfront pricing.
- Check reviews online.
- Ask if any electrical maintenance is required.
When to Call a Licensed Electrician
Electrical work is never worth the risk of DIY. You're dealing with live electricity here, not common household work. Even minor issues can turn into serious safety hazards if not handled correctly, and we've seen it happen more often than you would believe. If you’re dealing with flickering lights, tripping circuits, or are in need of an electrical installation, call a licensed Wollongong electrician to ensure everything meets Australian Standards and keep your home and family protected.
Local, Licensed Experts

Electrical issues can be stressful, but finding the right help shouldn’t be. At Easther Electrical, we’re proud to provide Wollongong homeowners and businesses with clear, upfront pricing. Whether it’s an urgent repair, a new installation, or routine maintenance, our fully licensed electricians deliver safe, compliant, and efficient solutions every time.
Need tailored electrical solutions Wollongong? Contact Easther Electrical for transparent pricing, fast service, and no hidden costs.
FAQs
How much is a call out for an electrician?
Call-out fees vary, but professional electricians in Wollongong typically charge for travel and initial assessment when providing emergency services to residential and commercial properties.
What do electricians charge per hour in NSW?
Hourly rates for a local electrician range depending on experience, property type, and urgency, with licensed professionals offering transparent rates for both residential and commercial properties.
How much is a call out fee for an electrician in Australia?
Standard call-out fees cover time, travel, and basic inspection by professional electricians, especially for urgent emergency services.
How much do electricians make per hour in Australia?
Licensed professional electricians earn an hourly rate reflecting skills, high quality electrical services, and the demand for emergency services.
Is your beautiful Wollongong home hiding a nasty shock? When it comes to electrical hazards, what you can’t see might cost you everything.
From overloaded circuits in newly renovated beach bungalows to outdated wiring in classic character houses, hidden electrical risks are lurking right beneath the surface. To help you know what to be on the lookout for, here are the most common electrical hazards that our team sees in Wollongong homes, old and new.
1 - Faulty or Aged Wiring
It can be difficult to know when wiring is no longer up to the job, especially in older Wollongong homes, because it's often 'out of sight, out of mind'. If you are experiencing flickering lights or frequent power outages, locating faulty wiring and replacing it is the best way to avoid devastating electrical fires and dangerous electric shocks.
2 - Overloaded Power Points and Extension Cords
Overloading is a common problem in older Wollongong homes that lack the amount of electrical amenities required for modern living. However, using power boards (especially cheap ones) or relying on extension cords as a permanent solution can lead to a fire risk due to overheating if the circuit is overloaded.
Have a local electrician upgrade or install new electrical fittings where you need them and also have them check that your electrical system has the capacity to handle the extra load.
3 - Outdated Switchboards and Fuses
You buy a new refrigerator, but when you plug it in, the circuit breaker repeatedly trips. Older switchboards aren't designed to handle modern appliances. Switchboards should be replaced every 20-30 years, or sooner if your electrical demands increase dramatically.
Older switchboards not only struggle to handle modern electrical loads, but they also lack features like safety switches and surge protection. They can also contain hazardous materials like asbestos, so it's best to have yours upgraded, if you haven't already.
4 - Water and Electricity Near Kitchens, Bathrooms, and Outdoors
Wollongong is a coastal city, and humidity and salt spray can wreak havoc on electrical fittings and fixtures, compromising electrical safety. This is especially the case for outdoor light switches and around pool areas.
Bathrooms and kitchens are also required to meet safety standards to ensure safety around water. If you are not sure if electrical work in these areas of your home complies with AS3000, only a licensed electrician can ensure the electrical safety of your home and family.
5 - DIY Electrical Work
DIY electrical work can have fatal consequences. In Australia, all electrical work beyond changing a lightbulb must be performed by a licensed electrician. If you need to change a light fixture, replace wiring, or have damaged switches or fittings, call a professional.
If you're thinking of buying an established home in Wollongong, have its electrical system inspected by a qualified electrician, as this sort of work isn't included in a standard building and pest inspection.
6 - Faulty Appliances and Power Cords
It should go without saying - never use a power cord or appliance with frayed wires or cords, or loose plugs, because doing so can easily lead to potentially fatal electrical shocks and house fires.
While testing and tagging of home electrical appliances isn't required by law, it is highly recommended to avoid safety hazards. This is particularly so for seasonal appliances such as heaters and portable air conditioning units that can degrade while in storage.
7 - Lack of Routine Electrical Inspections
When was the last time you had the electrical equipment and systems of your Wollongong home checked for faults? Professionals recommend that homes older than 25 years be checked for electrical faults every 3 years and new homes, every 5 years.
If you're overdue for a safety inspection, call a licensed electrician to test important safety features such as your residual current device, which protects against electric shocks and fires by immediately shutting off power when an imbalance in current flow is detected.
Keep Your Wollongong Home Safe
Don't make a fatal mistake by neglecting these common electrical hazards. With nearly 40% of all house fires in Australia caused by electrical faults, it's critical to have your home checked regularly, or as soon as you notice any warning signs.
The fully licensed and certified team at Easther Electrical can handle all manner of residential electrical work in Wollongong. Whether you're moving in, renovating or simply maintaining your home, you can trust us to get the job done quickly and affordably. Visit our website for a free quote or call us on (02) 4256 5899 today.
FAQs
What are the most common electrical hazards?
The most common electrical hazards we see include ageing wiring, overloaded circuits, and poor grounding, all of which can lead to electrical shocks and house fires.
What is an electrical hazard in a household?
An electrical hazard at home is anything that can cause electrocution, burns or fires. This can range from frayed appliance cords to water being used near electricity.
What are the two main hazards associated with the use of electricity?
The two main dangers of electricity are fires and electrocution. Fires are often caused by faulty wiring or overheating, while electrical accidents are caused by direct or indirect contact with live wires or parts.
If you’ve ever sat under a flickering light, you’ll know how distracting and downright annoying it can be. Sometimes it’s just a loose globe, but persistent or widespread flickering often points to switchboard issues. The challenge for homeowners is knowing whether it’s harmless or something more serious that requires the help of a licensed electrician.
When Flickering Lights Require Immediate Action
Safety first – let’s get the serious stuff out of the way. While some flickering is harmless, certain red flags mean you need to act immediately. These include:
- Noticing a burning smell
- Seeing sparks near outlets
- Switches, power points or dimmer switches are hot to touch
If you experience any of the above, you’re dealing with more than a minor nuisance, and it's time to call in a professional. If it’s safe to do so, switch off the main power at your switchboard while you wait for your electrician.
If it's widespread flickering across multiple rooms or lights that cut in and out, then you most likely have a switchboard fault. On the other hand, if it's just a single light flickering, the light bulb may be the problem. If you're not comfortable replacing the bulb yourself, schedule a non-urgent inspection instead of calling for emergency help.
Signs Pointing to Switchboard Issues

Do you have an old fuse-style switchboard? Surprisingly, these are still common in many Australian homes built before the 1990s, and they're a common culprit for flickering lights. These older boards often struggle to keep up with the power demands of modern households filled with high-consumption appliances.
Another frequent cause is overloaded circuits. If lights flicker whenever you turn on the oven, air conditioner, or multiple devices at once, that’s a sign your electrical load may not be coping. Worn or damaged wiring behind the board can also cause inconsistent connections. Other warning signs are buzzing sounds, scorch marks, or breakers that trip frequently.
Sometimes, it's faulty wiring or loose connections showing similar symptoms, such as flickering across multiple rooms, outlets that feel warm to the touch or lights dimming when larger appliances cycle on.
Often, a switchboard upgrade is required. Modern switchboards built to Australian electrical standards are designed to minimise these risks. Conversely, older or poorly maintained switchboards don’t offer the same level of protection. If you recognise any of these issues, it’s time to have a licensed electrician take a closer look to fix flickering lights.
Quick Checks You Can Do Right Now
Start by paying attention to patterns. Does the flickering happen only when the air conditioner, heater, or multiple appliances are running at once? That could mean it's a load issue rather than a single faulty fitting.
Seasonal factors also play a role. In Australia, it's usually heavy storms or peak summer demand that causes temporary dips in power supply, which can make lights flicker more often.
Or, if the issue started right after installing a new appliance or upgrading equipment, that’s also worth noting. You can share these insights with your electrician and help them diagnose the issue faster.
Complex Electrical Problems Beyond DIY
When dealing with electrics, most problems simply should not be attempted with DIY fixes. Flickering lights may seem minor, and sometimes are, but often the cause lies far beyond a loose bulb or overloaded power board. In fact, sometimes the cause is outside of your control altogether.
One example is voltage fluctuations at the street level, which are supply issues coming directly from the grid. This means that only your utility company can resolve this. However, besides this, a professional electrician will be able to fix all your flickering lights issues, some of which include:
- Faulty light switches (including faulty dimmer switches)
- Deeper wiring problems (such as loose wiring)
- Outdated switchboards
These issues are hidden behind walls (or switchboards) and require a licensed electrician to diagnose and repair safely. If the problem is not due to any of the above, flickering may be traced back to electrical interference from certain heavy-duty appliances, such as microwaves and air fryers. These place sudden demand on your home’s electrical system.
If you’ve already ruled out the simple checks and flickering remains, the issue is beyond a DIY solution. As such, the smartest and, most importantly, safest step is to call in a professional
The Safety Risks of Ignoring Flickering Lights
As we stress, the main reason you should not attempt DIY with flickering lights is safety. Again, it's electrics we're dealing with here. And in a worst-case scenario, faulty electrics can create serious electrical hazards, including fires. In fact, there are real case examples in Australia where faulty wiring and overloaded switchboards have been linked to house fires.
There’s also the risk of electric shock, particularly when faulty switches or outlets are running hot.
Additionally, flickering also shortens the lifespan of appliances and can cause costly damage to electronics by exposing them to repeated power fluctuations. And if you attempt to fix or simply ignore these problems, it can impact your insurance claim if an incident occurs. Insurers often require evidence of regular maintenance and compliance with electrical safety standards, and if they see an issue caused as a result of negligence or your attempt at DIY, your claims can be rejected.
In short, occasional flickering lights aren’t just annoying; they’re a warning sign for your entire electrical system that shouldn’t be ignored.
What Wollongong Homeowners Need to Know About Switchboard Upgrades
As we primarily operate within the Wollongong region, there are some specific things you must be aware of to keep your switchboards up to current Australian standards. If you reside in the Illawarra region, chances are your home still runs on outdated fuse boxes, which, as we've discussed, simply aren’t equipped to handle today’s power demands or the safety regulations.
A proper upgrade ensures your switchboard includes safety switches (RCDs). RCDs are legally required in all new installations and major electrical upgrades. While older homes aren’t required to retrofit them unless circuits are modified, adding them significantly improves safety. These devices trip instantly in the event of a fault, protecting your family from electric shock. Moving away from old fuse-style systems also reduces the risk of fires caused by overloaded or deteriorating circuits. Most of all, new switchboards provide peace of mind.
Here are the common signs that your current switchboard doesn't meet modern safety standards:
- Doesn’t include frequently tripping circuit breakers
- Buzzing sounds
- Discoloured fuses
- Lack of RCDs altogether
- Loose electrical wiring faults
Even if things appear to be running smoothly, it can't hurt to schedule preventive maintenance or an upgrade to save you from sudden, expensive faults down the track. After all, a switchboard upgrade is a straightforward process that can often be completed within a day. It’s one of the smartest investments you can make for both safety and a fully functioning home.
Costs & What to Expect from a Professional Inspection

When flickering lights keep coming back even after you’ve ruled out simple fixes, it's often underlying electrical issues within your main electrical panel or wiring. A professional inspection is the safest way to confirm the cause and ensure the flickering stops for good.
In Wollongong, the cost of an inspection typically starts from around $150–$300, depending on the property size and complexity of the system. If your switchboard needs an upgrade, you can expect prices to range between $800 and $2,500, depending on whether you’re replacing an old fuse box, adding more capacity for modern appliances, or installing the latest safety switches and RCDs.
Here's what to expect during the inspection: a licensed electrician will:
- Assess your switchboard
- Check for loose connections
- Test circuits under load
- Look for signs of overheating
- Check ageing components
This process helps determine whether the issue is minor or a serious fault requiring urgent repair or upgrade. Just make sure that when choosing an electrician in Wollongong, you look for licensing, insurance, and experience with switchboard replacements. It’s also worth asking about warranties on parts and workmanship, as well as whether follow-up support is provided if problems reappear.
Protecting Your Wollongong Home from Electrical Risks
The key takeaway: flickering lights, burning smells, and hot switches are clear warning signs you should never ignore. Professional help ensures your home stays safe and compliant, while preventive maintenance keeps you prepared for Wollongong’s seasonal demands. It's just not worth risking your family’s safety or your property. Schedule a switchboard inspection or upgrade today with Easther Electrical. Peace of mind starts with a safe, reliable electrical system.
FAQs
Should I call an electrician for flickering lights?
Yes, if a light fixture keeps flickering or multiple rooms flicker, it’s best to call a licensed electrician.
Can a flickering light cause an electrical fire?
Yes, faulty wiring behind a light fixture can overheat and lead to an electrical fire if ignored.
Do flickering lights indicate an electrical problem?
Often, yes. When lights start flickering, it may signal underlying electrical issues in your main switchboard or wiring.
What should you do if your lights are flickering?
Turn off the affected light fixture, check if multiple rooms flicker, and contact an electrician if the issue persists.
You may not realise it, but if you live in the Wollongong region, particularly in older suburbs like Thirroul, Figtree, or Corrimal, your property could contain outdated aluminium wiring. While there’s no need to panic, it’s worth being aware of the potential risks involved.
Aluminium wiring served its purpose decades ago, with the wiring commonly installed in Australian homes built during the 1960s and 1970s, when copper prices soared and builders sought a more affordable alternative. As such, it seemed like the perfect solution at the time: lightweight, inexpensive, and easy to work with. But more recently, it's been linked to electrical faults, overheating, and safety concerns.
Here's what you need to know.
Risks of Aluminium Wiring
Aluminium expands and contracts more than copper, meaning loose connections, overheating, and even electrical fires can happen.
Aluminium oxidises easily, forming a non-conductive layer that increases electrical resistance and heat at connection points. Over time, this can lead to overheating and potential fire hazards. In some cases, older aluminium wiring installations may also fall short of current Australian electrical standards if they’ve deteriorated or been altered incorrectly, which can complicate insurance claims. By contrast, copper wiring is more stable, conductive, and reliable, making it the preferred material for modern electrical systems.
Local Spotlight: Wollongong Homes

Based on our experience working in the Illawarra area for over 30 years, we’ve seen firsthand how common aluminium wiring still is in many Wollongong homes. As such, we're well-acquainted with the unique challenges it presents. This is especially true in older suburbs such as Woonona, Fairy Meadow, Unanderra, Figtree, and Corrimal, where many homes were built during the 1960s and ’70s boom when aluminium wiring was widely used. The combination of ageing connections, coastal corrosion, and inconsistent wiring standards keeps us busy removing electrical hazards and bringing homes up to today’s safety standards.
Signs Your Wollongong Home May Have Aluminium Wiring
Now you might be wondering whether your home has aluminium wiring, and thankfully, there are a few clues to look out for with your electrical system. Firstly, was your house built or renovated between the mid-1960s and late 1970s? If so, you're a likely candidate.
Here are the safety hazards to look for:
- Dull silver-coloured wiring behind outlets or switches (instead of the usual copper tone)
- 'Frequent circuit breaker trips
- Flickering lights (that aren’t tied to electrical appliances)
- Discoloured outlets
- Faint burning smell
- Electric shocks
- Evidence of DIY electrical work or faulty wiring
- Frequent circuit breaker trips
- Flickering lights (that aren’t tied to electrical appliances)
- Discoloured outlets
- Faint burning smell
- Electric shocks
- Evidence of DIY electrical work or faulty wiring
If you recognise any of the above, it's wise to book an inspection by a licensed Wollongong electrician.
What You Can Do About It
If it turns out that your Wollongong home has aluminium wiring, there are several solutions available, the most common being rewiring. This can either be a full rewire (safest) or a partial rewire, which just targets the high-risk areas like kitchens and switchboards.
If you really want to ensure the safety and compliance of your home's electrical system, then regular electrical safety inspections are essential. They catch early warning signs before they become serious.
But it's crucial to always work with a licensed Wollongong electrician familiar with local housing conditions, not some unlicensed cowboy undercutting the professionals. A fully qualified electrician will advise on the most cost-effective and compliant approach to avoid potential electrical hazards.
Risks of DIY Electrical Work
It might be tempting to tackle electrical projects yourself, especially with so many online tutorials. While the home renovation shows have made DIY more popular, electrical work is far more dangerous than typical home improvements. Unlike painting or basic carpentry, working with electricity carries an immediate risk of severe injury, electric shock, or even death. Even a minor mistake, like a loose connection or improper wire sizing, can create potential hazards such as short circuits, power surges, or fire.
Without the proper training, we've seen customers overlook issues like oxidation, worn insulation, or overloaded circuits. Furthermore, DIY electrical work is illegal in NSW and can also void your insurance policy.
In short, it's just not worth the risk.
Licensed electricians undergo years of training and apprenticeship to identify hidden risks, ensure connections meet current standards, and perform safe, compliant installations. By leaving electrical work to the professionals, you not only protect yourself and your family but also safeguard your home from long-term hazards that could cost thousands in repairs.
Aluminium Wiring and Australian Standards
When it comes to aluminium wiring, compliance with Australian safety standards can make all the difference between a safe home and a potential fire risk. You should know that aluminium wiring itself isn’t actually illegal, but it still often doesn’t meet modern electrical safety codes unless it’s been properly maintained or upgraded using approved methods.
The current standards recommend replacing or professionally assessing older wiring systems, especially if your electrical system is showing signs of wear. Additionally, if you’re planning renovations, it makes sense to include new electrical installations.
Get Your Home Inspected
If your home was built in the 60s or 70s, or you’ve noticed flickering lights or discoloured outlets, it’s worth getting your wiring checked. A professional inspection by a licensed Wollongong electrician will not only identify whether aluminium wiring poses any safety risks, but also recommend the best long-term, cost-effective solution.
Don’t take chances with your home’s electrical safety. Book an inspection with Easther Electrical today, Wollongong's premier electrical service, and enjoy peace of mind knowing your property is in expert hands.
FAQs
Should I be worried about aluminium wiring in my house?
Yes, aluminium wiring can pose potential hazards such as overheating and power surges, so inspections are recommended to ensure safety.
How much does it cost to replace aluminium wiring in a house?
The cost varies depending on the home’s size and layout, but investing in rewiring helps prevent power surges and ensures safety long-term.
What are the disadvantages of aluminium wiring?
Aluminium wiring is prone to corrosion, loose connections, and potential hazards, especially without regular maintenance.
How to make aluminium wiring safer?
You can ensure safety through regular maintenance, professional inspections, and upgrading connections or rewiring where necessary.
The Wollongong real estate market has seen significant growth over the past decade. According to Illawarra property market trends, median house prices have risen by an astonishing 50% in just five years. This is a faster-growing market than larger capital cities like Brisbane and Adelaide. With an enviable location nestled between the beach and the Royal National Park and coastal living in suburbs like Thirroul, Figtree, and Shellharbour, it's no wonder the area is so sought after.
As a result, many homeowners are capitalising on this growth by renovating their homes to match the lifestyle and local climate. One area growing in popularity is the kitchen's electrical system, where modern, energy-efficient, and smart electrical upgrades are safely improving both form and function.
Let's explore the 5 most common electrical kitchen upgrades for Wollongong homes.
Upgrade #1: LED & Task Lighting
The most common kitchen upgrade we see in Wollongong homes is improved lighting, especially in the case of flickering lights. Specifically, LED and task lighting. These types of lighting are popular due to their efficiency, functionality, and health benefits. LED lighting is not only highly energy efficient but has a long lifespan, often exceeding 50,000 hours. This serves as a double win by reducing energy costs and the frequency of bulb replacements, leading to long-term savings. By relying more on task lighting, specifically designed to provide bright, focused light for a particular activity or work area, you can also significantly bring down your energy usage.
Upgrade #2: Additional Power Points & USB Outlets
With more appliances becoming staples in the modern kitchen (we're looking at you, air fryer) and more devices than ever on offer, it’s tempting to just plug in a power board to keep up. However, relying on too many power boards can cause overheating, power outages, and safety risks. The smarter choice is to install additional power supply points and USB outlets. Popular spots include island benches, appliance stations, and prep areas. Extra outlets ensure your kitchen is functional, future-proof, and clutter-free.
Upgrade #3: Dedicated Circuits for Major Appliances
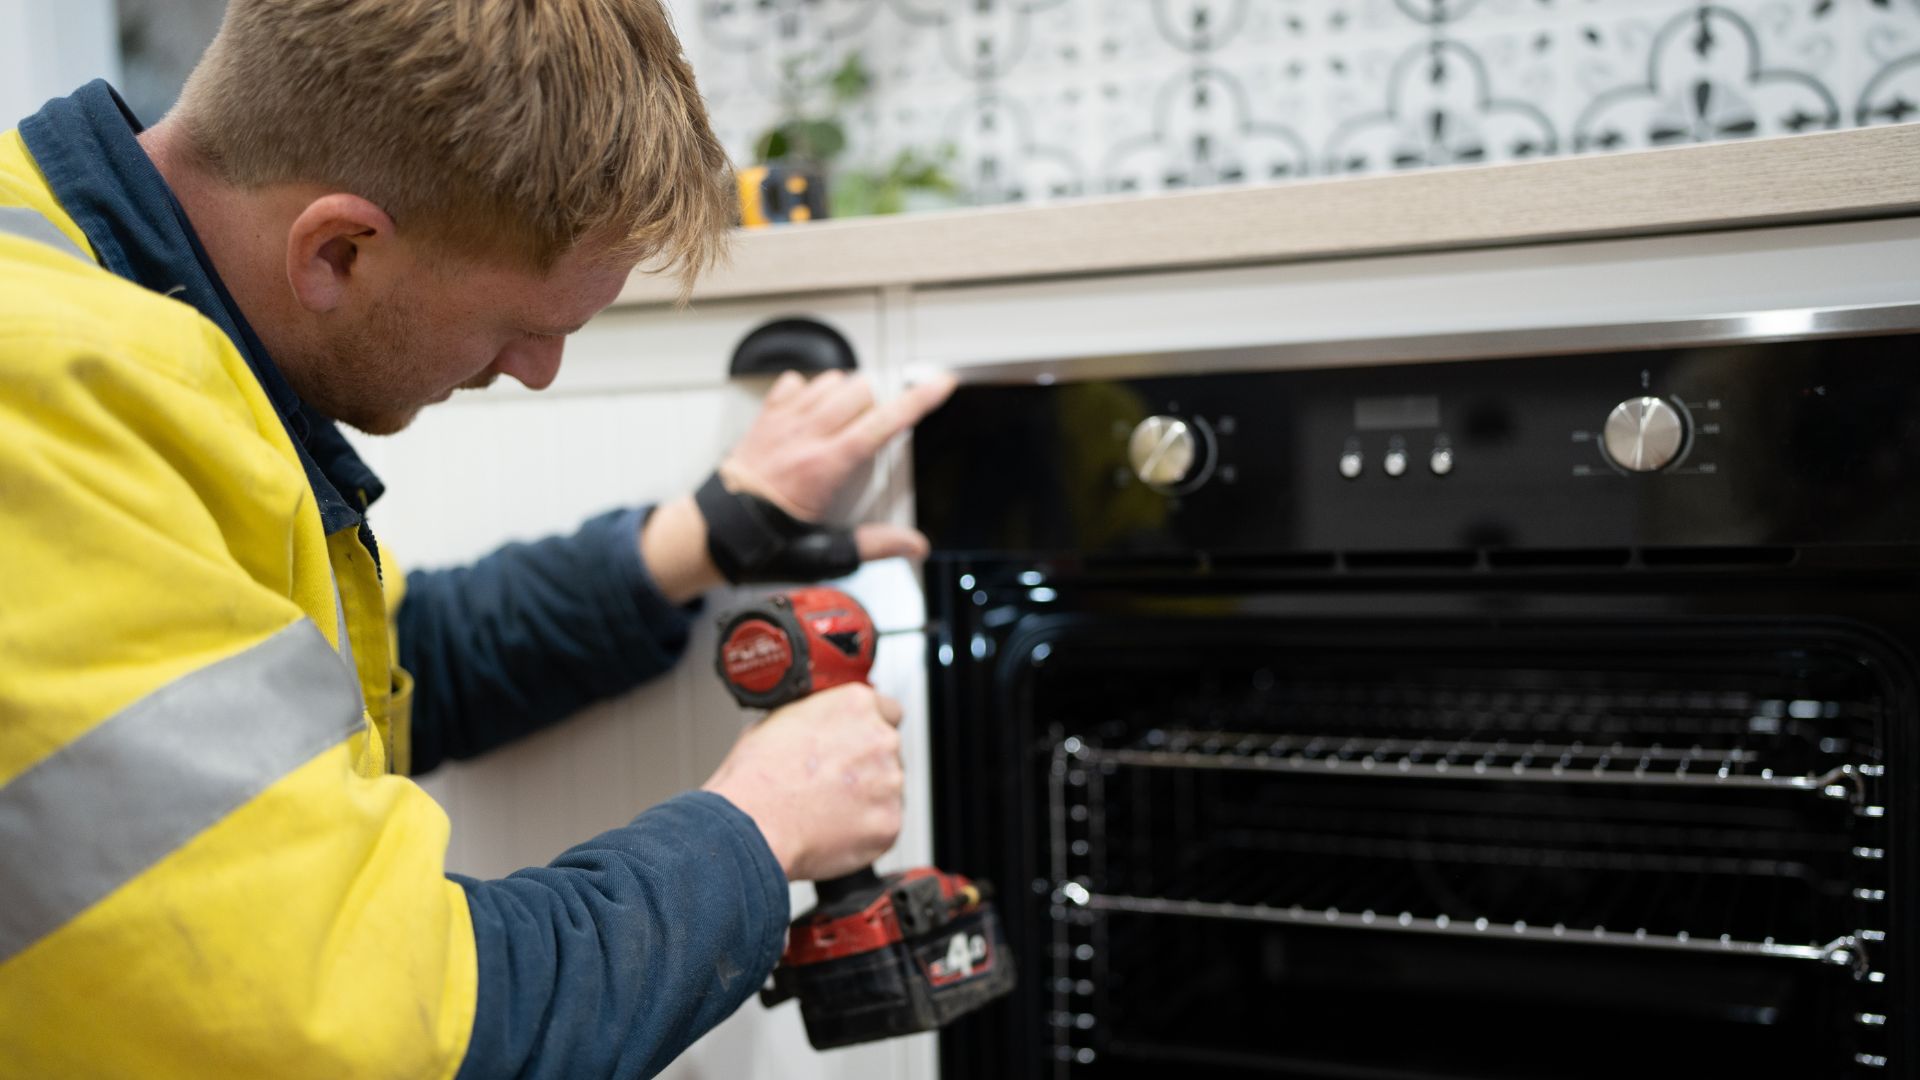
Now what about the bigger home appliances that keep your kitchen running, such as ovens, dishwashers, and fridges? These heavy-hitters draw a lot of power, which is why they benefit from dedicated circuits (rather than sharing with smaller outlets). Installing separate circuits not only ensures these appliances perform at their best, but it also reduces the risk of tripping breakers, electrical faults, and, in the worst-case scenario, potential fire hazards. For Wollongong's older homes, specifically where wiring may be outdated, this upgrade is a smart investment in both safety and long-term reliability.
Upgrade #4: Smart Kitchen Technology Integration
Would you like your kitchen to function like one of those futuristic sci-fi movies you watched growing up? Then equipping your home with smart kitchen technology is the upgrade for you. Imagine preheating your oven from your phone during your commute home from work, with a Wi-Fi-enabled oven. But it doesn't stop there. From fridges that send alerts to your phone, to app-controlled lighting and voice-activated assistants, smart tech is making kitchens more intuitive and convenient than ever.
Beyond the wow factor, these upgrades also future-proof your home by adding dollar value and improving energy efficiency. By adopting smart plugs that cut standby power and appliances optimising their own energy use, integrating smart technology is the perfect way to blend style, convenience, and long-term savings.
Upgrade #5: Safety Upgrades – RCDs & Surge Protection
This one, while not as exciting as smart gadgets or new lighting, is all about providing priceless peace of mind. As they say, safety first. Upgrades like Residual Current Devices (RCDs) and surge protection not only keep your home compliant with Australian Standards, but they also protect you and your appliances from a higher risk of electrical faults, overloads, and power surges. Such risks are especially relevant in older Wollongong homes and coastal conditions, and while these behind-the-scenes upgrades may not be visible, they’re what keep your kitchen running safely and reliably.
Local Expertise in Wollongong
Wollongong homes come with considerations when it comes to electrical upgrades. Our coastal weather conditions can impact wiring, and there are certain local regulations and safety standards that must be followed. That’s why working with a Wollongong licensed electrician who knows our unique landscape is so valuable. You’ll have peace of mind knowing your kitchen not only looks great but functions safely and efficiently.
Ready to Upgrade Your Kitchen Electrical?
The electrical upgrades mentioned in this piece can transform your kitchen into a modern, powerful, and safe hub for your home. If you’re ready to make the switch and work closely with your local electrician for the best solution, get in touch for a tailored free quote from our dedicated expert team today.