
10 Considerations When Creating a Lighting Plan for Your New Home
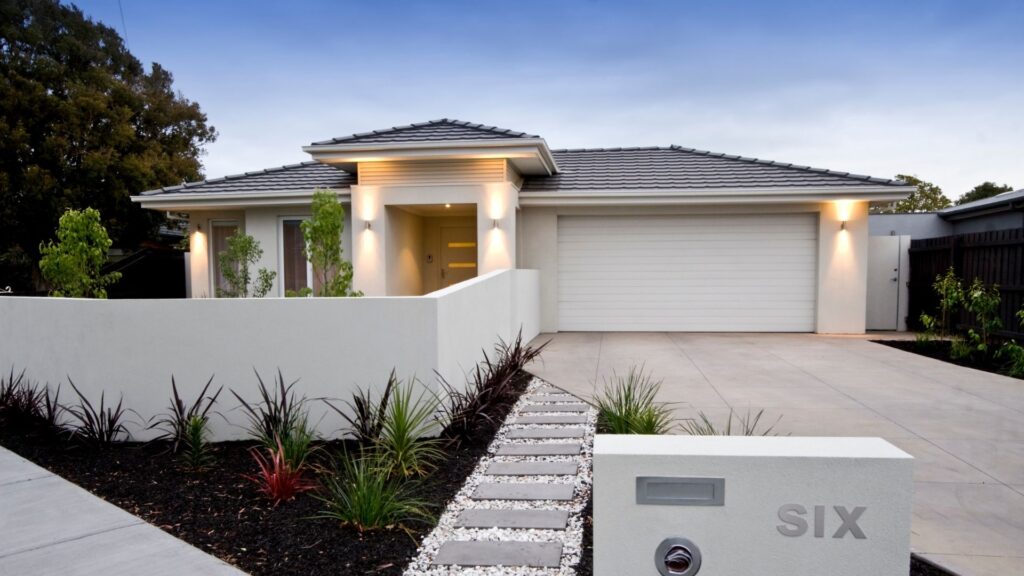
Planning a new build and need advice on your lighting plan? The best time to plan your lighting is before your electrician runs a single cable. Once the plasterboard is up, moving a pendant or adding a wall light means cutting into finished surfaces and patching them again.
Most builders hand you a standard electrical plan with an even grid of downlights and one switch per room. It meets the requirements and gets signed off without trouble, but it isn’t usually the lighting you’d choose if someone had talked you through the options first.
The ten considerations below cover how each room gets used, layering, natural light, brightness and beam angle, colour temperature, switching and zones, wet and outdoor areas, energy use, smart controls, and when to lock the plan in. They apply to any new build, with a few points specific to Wollongong and Illawarra. A licensed residential electrician needs to confirm several of them before anything gets installed.
What Should a New Home Lighting Plan Include?
A lighting plan is a marked-up copy of your floor plan, not a shopping list of fittings. It should show:
- How each room will be used, and when
- The position and purpose of every light
- Ambient, task and accent layers for each space
- Fixture types, including decorative pieces
- Lighting zones and which lights share a circuit
- Switch and dimmer positions
- Colour temperature for each area
- Wet-area and outdoor fitting requirements
- Smart controls and any wiring to run now for later
- How lighting coordinates with cabinetry, furniture and ceiling structure
Most of this ends up as annotations on the plan itself, which is why a marked-up floor plan is more useful to your electrician than a folder of photos.
1. Start With How Each Room Will Be Used
Map furniture, appliances and daily activities
Lighting should respond to activities, not room dimensions. Before you think about fittings, mark your floor plan with beds, sofas, the dining table, desks, the TV, kitchen benches and any artwork.
Then think about the time of day. A kitchen needs bright, shadow-free light at 6pm and something much softer at 10pm, and a living room does three or four different jobs depending on who’s in it.
Open-plan areas are where this matters most. Cooking, dining and relaxing happen in one space but need different light levels, so they have to be planned as separate zones rather than one large lit area.
A light in the geometric centre of a room often isn’t where you need it. The dining pendant is the standard example: it belongs centred over the table, which means you need to confirm the table position before the electrical point goes in.
2. Use Layers Instead of Relying Only on Downlights
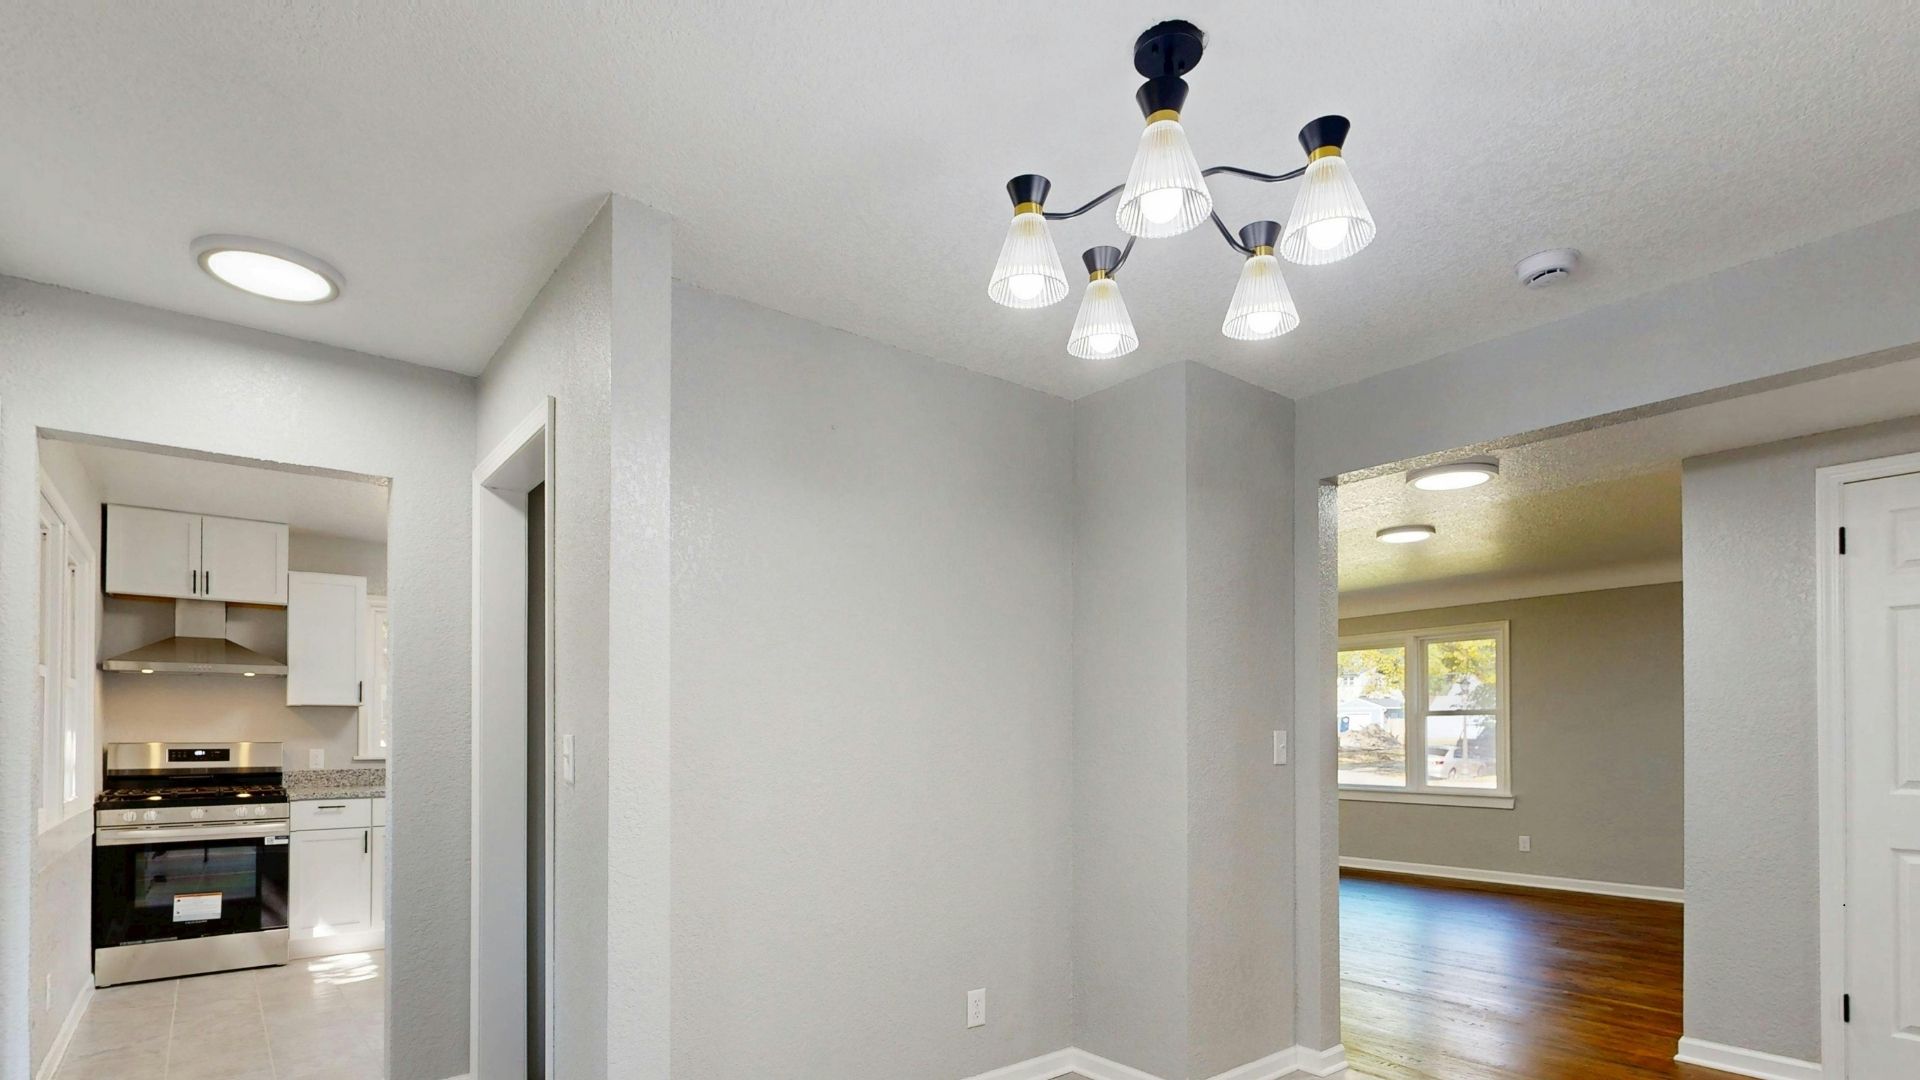
Three layers do the work in most homes:
- Ambient lighting: general light for moving through a space safely
- Task lighting: focused light for cooking, reading, working or grooming
- Accent lighting: light that highlights joinery, artwork or a material you paid good money for
A ceiling full of downlights gives you one layer, everywhere, at the same intensity. Rooms end up flat and over-bright, and your only control is on or off.
Not every room needs all three. Most main living areas benefit from more than one.
- Kitchen: general ceiling light, plus under-cabinet task lighting, plus island pendants
- Living room: general ceiling light, plus wall lights or lamps for the evening
- Bedroom: general light, plus bedside reading lights and wardrobe lighting
Wall sconces, pendants, under-cabinet LED strips and floor lamps all reduce how much work your ceiling has to do.
3. Plan Around Natural Light and Your Home’s Orientation
Walk your floor plan three times: morning, afternoon, night. Note where daylight enters and how it moves through the day.
A north-facing living area may need very little artificial light before dusk. Internal bathrooms, hallways, stairwells and south-facing rooms need proper daytime lighting whatever the weather is doing.
Window placement, skylights, ceiling height, paint colour, and floor finish all change how bright a room feels with the same fittings. None of that removes the need for task and safety lighting after dark.
4. Match Brightness, Beam Angle and Placement to the Space
Lumens describe how much light a fitting produces. Watts describe how much power it draws. They’re not interchangeable, and a higher wattage LED doesn’t automatically mean a brighter room.
Spacing depends on beam angle, ceiling height, room size, surface finishes and what you’re doing in the space. Narrow beams create pools of light with dark gaps between them, while wide beams spread further but wash out the feature you were trying to highlight. Dark floors and cabinetry absorb light that pale surfaces bounce back.
Shadows are where most plans fall down:
- Downlights positioned behind where you stand throw your own shadow onto the bench
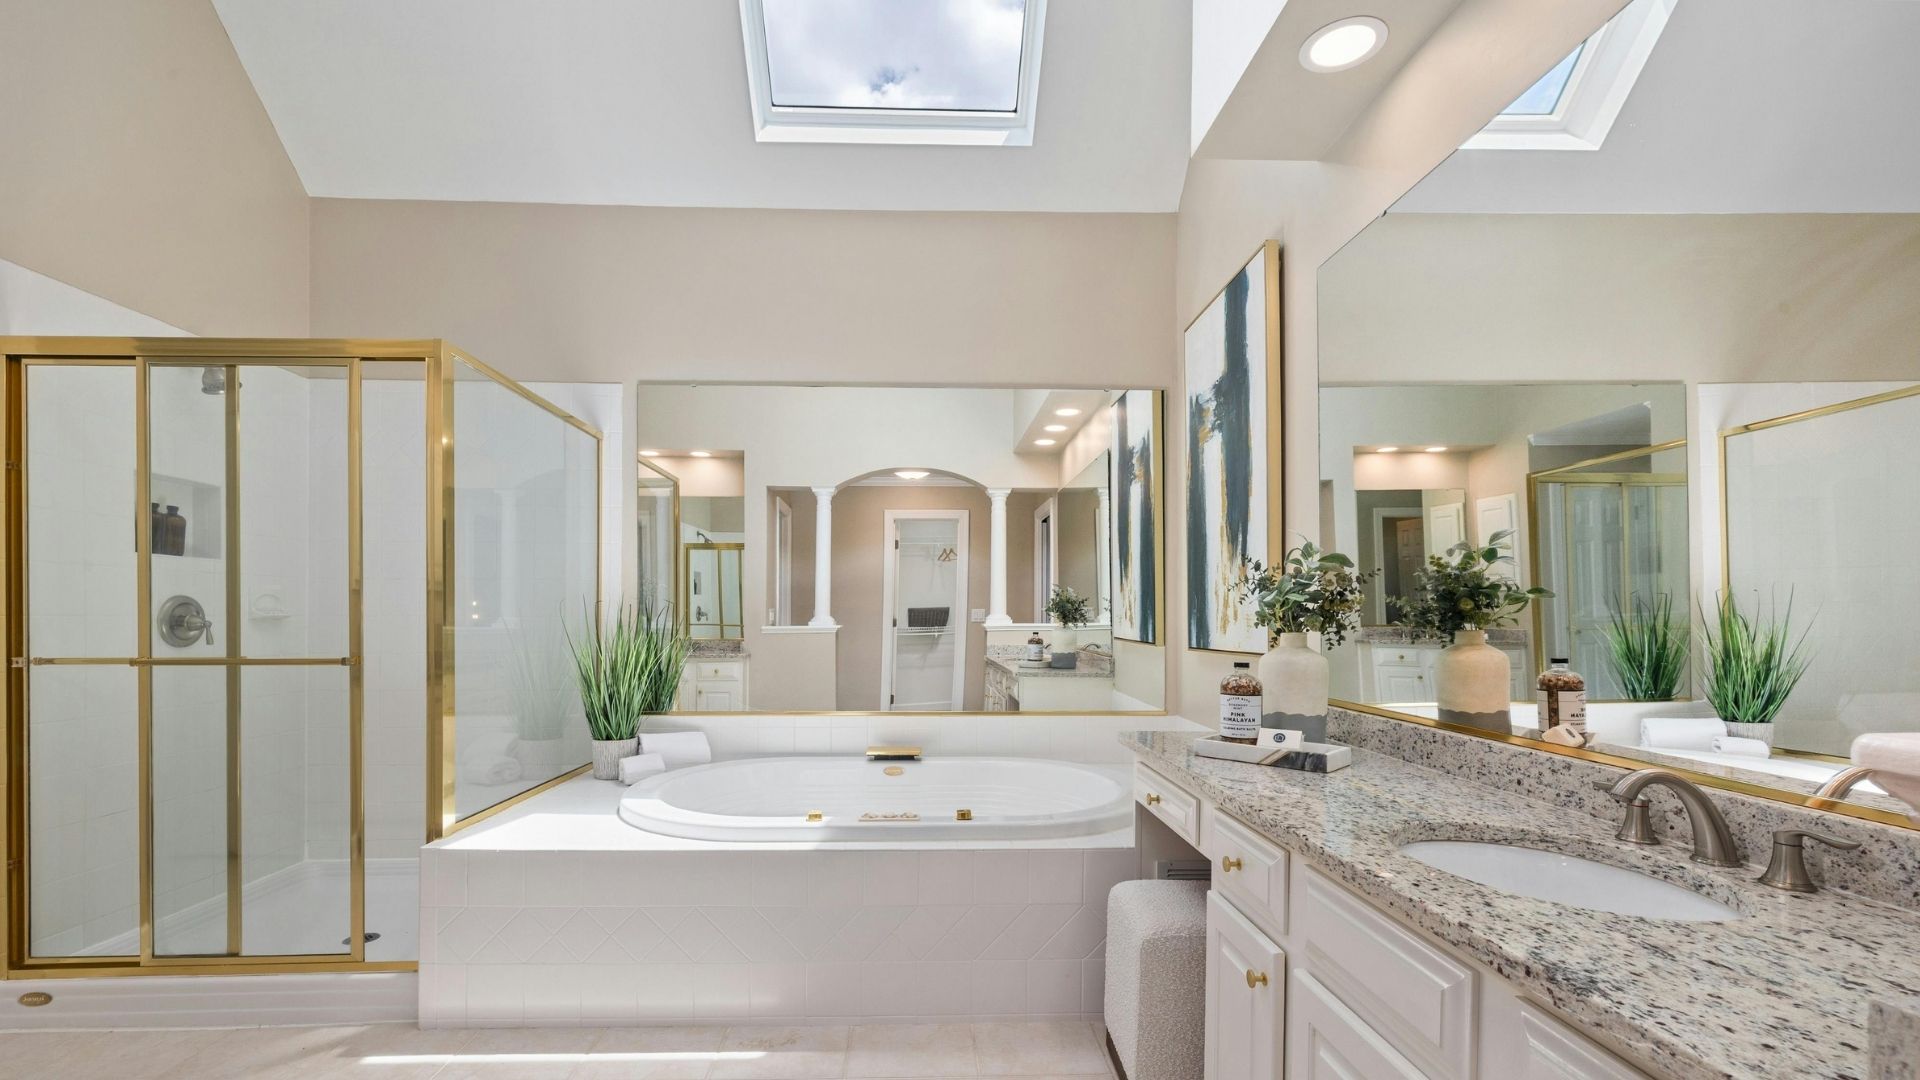
- A single light above the bathroom mirror lights the top of your head, not your face
- A desk light placed wrong puts glare straight onto the screen
Be sceptical of any rule that gives you one downlight per square metre. It can’t account for your ceiling height, your fitting’s output or your finishes. Check the layout against the actual room and fitting.
5. Choose the Right Colour Temperature and CRI
Colour temperature is measured in Kelvin. Lower numbers look warmer and more yellow; higher numbers look cooler and more like daylight.
Warm white, usually somewhere around 2700K to 3000K, suits bedrooms, lounges and dining spaces. Neutral or cooler light works better in garages, laundries and workshops where you need to see clearly rather than feel relaxed.
Try not to mix visibly different temperatures across one open-plan area. Warm pendants over the dining table with cool downlights in the adjoining kitchen will look wrong from the moment you switch them on.
CRI, or colour rendering index, is a separate measure. It describes how accurately colours appear under a light, and two fittings at the same colour temperature can render them quite differently.
The Australian Government’s YourHome guidance puts it simply: a CRI above 80 is usually adequate, but for tasks where colour matters, such as food preparation or applying makeup, it’s advisable to choose above 90. Kitchens, bathrooms and wardrobes are where you notice the difference.
6. Plan Switches, Dimmers and Lighting Zones
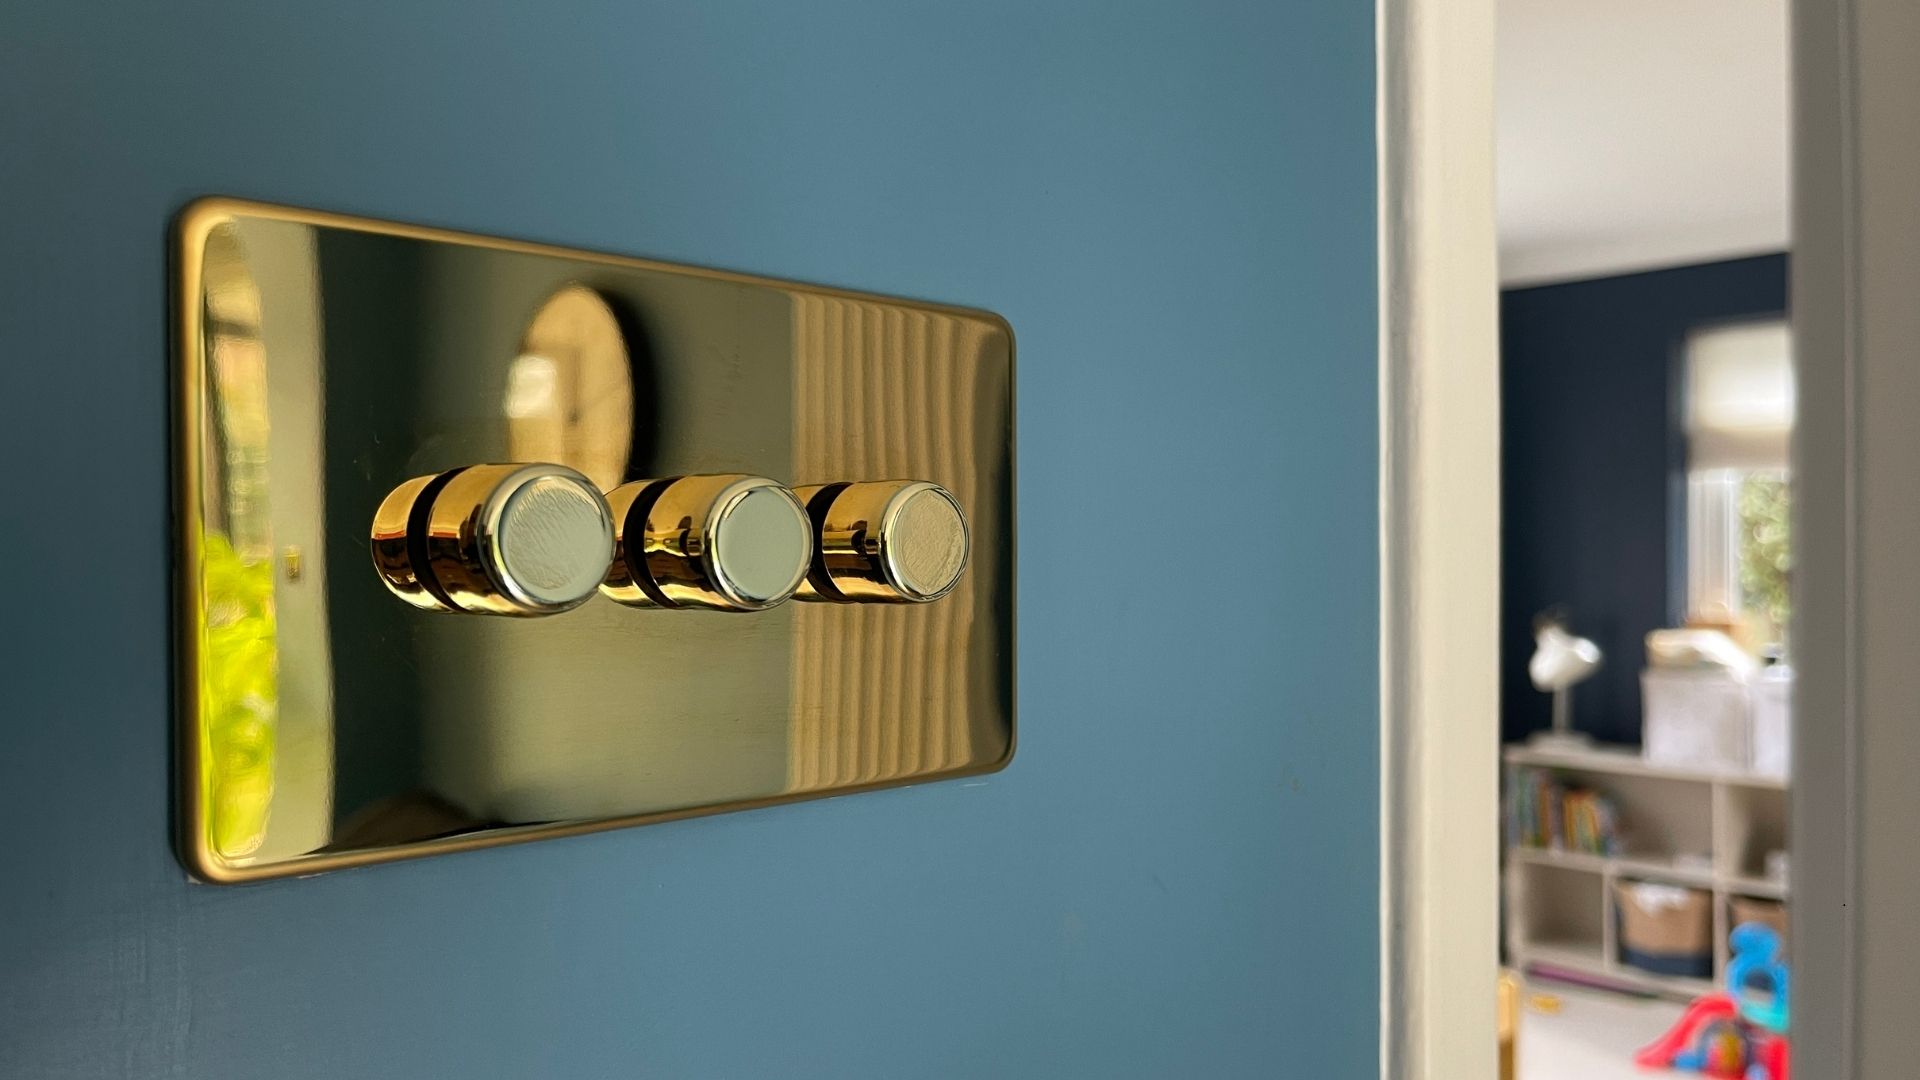
Decide how many groups of lights need independent control, then plan the switches around that.
In open-plan spaces, kitchen task lighting should switch separately from dining and living lighting. Otherwise you’re lighting the whole floor to make a cup of tea.
Worth planning:
- Dimmers in living rooms, bedrooms, dining and entertaining areas
- Two-way or multi-way switching wherever people enter and leave from different points
- Switches at both ends of hallways and staircases
- A master-off switch near the main exit or the main bedroom
- Logical grouping, so a guest can work out which switch does what
Switch position matters as much as switch count. You want one at every entrance to a room, and one at every door to the outside, so you’re never crossing a dark room to reach a switch on the far wall. Think about where you’ll hang art or fix shelving too, because a switch plate in the middle of a feature wall is hard to unsee once the furniture’s in.
Check that your chosen LED fittings and drivers are compatible with the dimmers you want. Not all are, and finding out at fit-off is expensive.
Take a family building an open-plan home in Shell Cove. They want bright task lighting over the kitchen bench, separate pendants above the dining table, softer general lighting in the living area, and something low for the evening. That’s four switch groups in one room, and if they’re not on the plan early, adding them later means opening the ceiling.
7. Treat Kitchens, Bathrooms and Outdoor Areas Differently
Kitchens
Light the work surfaces first, then everything else. Position fittings so you're not working in your own shadow, coordinate pendants with the island dimensions and the joinery plan, and think about lighting inside the pantry and under the overhead cabinets.
Bathrooms
Vanity lighting, mirrors, exhaust fans, and cabinetry all compete for the same wall and ceiling space, so plan them together rather than one at a time. During a bathroom renovation, consider the electrical layout and installation requirements early to avoid costly changes later.
Outdoor and coastal areas
Outdoor lighting is easier to get wrong than indoor. Think about where people actually walk after dark, from the car to the front door, down the side path, up the back steps, and light those routes rather than lighting the yard evenly.
If you’re building anywhere near the coast, in Thirroul, Bulli, Woonona or Shell Cove, fitting quality matters more than it does inland. Salt air accelerates corrosion on outdoor electrical equipment, and cheaper exterior fittings don’t last as long in those conditions. Ask about weather rating and corrosion resistance, not just the IP number on the box.
Aim matters as well. Floodlights and sensor lights pointed carelessly spill into adjoining properties, causing tension between neighbours.
8. Prioritise Efficient LEDs Without Over-Lighting
LED is now the BASIX default for residential lighting, so the more useful question is how much lighting load your design creates.
BASIX assumes that dwelling lights are LED or fluorescent and calculates lighting energy using a fixed illumination power density of 4 watts per square metre across the total floor area, including the garage. It also assumes the lights operate for an average of 1.2 hours each day.
For single dwellings, BASIX does not require room-by-room lighting details. This means the assessment does not compare your proposed lighting layout with the 4 W/m² modelling assumption. Installing a substantially higher lighting load could therefore increase actual energy use beyond the modelled estimate, particularly if the lights are used for similar periods.
Fitting selection also matters. NSW guidance notes that recessed downlights distribute light less evenly than some other fittings, which may mean more lights are needed to illuminate a room. Combining wall lights, pendants and carefully positioned downlights can provide effective lighting with fewer fittings and a lower total load.
9. Decide How Smart and Future-Ready the Home Should Be
You can add smart globes any time you like, but smart switches usually need a neutral wire at the switch, and if that wasn’t run during the wiring stage you’re back to opening walls to get one there. That’s the decision worth making now. The rest can mostly wait.
Pick your level honestly:
- Basic switching: nothing smart, done well
- Dimmers and sensors: most of the benefit, none of the complexity
- Selected smart rooms: living, main bedroom, outdoor
- Whole-home automation: worth it if you’ll actually use it
Whatever you choose, keep physical switches that still work when the app is down, or the internet drops out. If you’re unsure, run the cabling now and add the technology later.
10. Confirm the Plan Before Rough-In and Use a Licensed Electrician

Lock in your layout once the floor plan is stable, furniture positions are broadly known, kitchen and bathroom joinery is designed, and ceiling heights are confirmed. Review it again on site before fit-off.
Before you sign off, check what your builder’s standard lighting allowance actually includes:
- How many fittings, and what quality
- Whether dimmers are included or extra
- How many switch groups
- Whether pendant installation is allowed for
- Exterior fittings and sensor lighting
- What a variation costs after contract
Who’s involved
You know how the house will be used. Your builder controls the program. The cabinetmaker’s plans dictate where joinery lighting can go. Your electrician confirms whether the layout is practical, wireable and compliant, and can prepare the plan itself if you’d rather not draft one.
Safety and compliance
Electrical wiring work in NSW must be carried out by, or under the supervision of, an appropriately licensed electrician. The technical requirements are set out in AS/NZS 3000:2018, commonly known as the Wiring Rules, including its current amendments. These rules cover how electrical installations are designed, constructed and verified.
New homes must also meet applicable National Construction Code and BASIX requirements. Once the electrical work is complete, the electrician must issue and submit a Certificate of Compliance for Electrical Work. Ask your electrician to include your email address so you receive a copy, then keep it with your building documents.
Recessed lights must be installed according to their classification and the manufacturer’s instructions. Some fittings, including suitable IC or IC-4-rated downlights, may allow ceiling insulation to abut or cover them. Other fittings require clearance from insulation and combustible building materials, which your electrician should confirm before installation.
Change It Now, or Pay For It Later
Roughly how the decisions rank by how hard they are to undo.
| Decision | Confirm by | Cost to change afterwards |
| Globe or lamp colour temperature | Anytime | Low, swap the globe |
| Switch plate finish | Before fit-off | Low |
| Decorative fitting selection | Before fit-off | Low to moderate |
| Downlight position | Before rough-in | High, ceiling access and patching |
| Pendant position | Before rough-in | High, point relocation and patching |
| Adding a wall light | Before rough-in | High, wall opened and repaired |
| Switch position or extra switch group | Before rough-in | High |
| Neutral wiring for smart switches | Before rough-in | High |
| Outdoor lighting points | Before rough-in | Moderate to high |
Anything that lives inside a wall or ceiling needs to be right before the linings go on.
Room-by-Room Lighting Checklist
Kitchen: general lighting, bench task lighting, island pendants, pantry light, separate controls
Living and dining: flexible scenes, accent or decorative lighting, dimmers, no glare on the TV, fittings positioned around the actual furniture
Bedrooms: bedside control, reading lights, wardrobe lighting, warm colour temperature, coordination with any ceiling fan
Bathrooms: general lighting, vanity lighting either side of the mirror, compliant wet-area placement, night lighting, exhaust fan coordination
Hallways and stairs: two-way switching, step or low-level lighting, sensor options, safe movement at night
Home office: desk task lighting, no screen glare, decent light on your face for video calls
Garage and laundry: bright task lighting, workbench coverage, sensors, neutral or cooler light
Outdoors: entry and path lighting, alfresco, security and sensors, weather and corrosion-resistant fittings, minimal spill into neighbouring properties
Lighting and power points get set at the same stage, so plan them together.
What to Take to Your Electrical Appointment
- Current floor plan and furniture layout
- Kitchen and bathroom joinery plans
- Ceiling heights, including raked or high ceilings
- Artwork and feature wall locations
- A short list of what you do in each room
- Photos of lighting styles you like
- Preferred colour temperatures
- Smart control requirements
- Outdoor entertaining and security needs
- Your builder’s included lighting allowance
- Any future plans: pool, extension, outdoor kitchen
Don't turn up with fixture photos alone. Your electrician needs to understand placement, switching, circuits, ceiling construction and how each room gets used.
Plan Your New Home Lighting With Our Wollongong Electricians
Good lighting comes from planning, not from adding more fittings. You know how the house will be lived in. Your electrician knows what’s practical, wireable and compliant.
Easther Electrical handles lighting installation and upgrades across Wollongong and the Illawarra, and works alongside homeowners, builders and other trades on new builds. We can prepare a lighting plan for your build, or review the one your builder provided and tell you what's worth changing while it is still cheap.
Building in Wollongong? Speak with Easther Electrical before rough-in to plan lighting locations, controls and circuits around the way your family will actually use each room.
Plan Your Home Lighting with Us!
Frequently Asked Questions
How do I create a lighting plan for a new home?
Start with your floor plan and a list of what happens in each room. Then mark ambient, task, and accent lighting; fitting positions; switch groups; colour temperature; and any smart controls. Review the marked-up plan with a licensed electrician before wiring starts, not after.
When should I finalise my new home lighting plan?
Confirm the main layout before electrical rough-in. Switch positions, lighting zones, cabinetry integration and decorative fittings need to be settled early enough for your electrician and builder to coordinate wiring and ceiling access. Review it again on site before fit-off.
How many downlights does a new home need?
There's no universal number. It depends on room size, ceiling height, beam angle, fitting output, surface finishes, furniture placement and what you do in the room. NSW guidance also recommends keeping the average lighting power density modest across the home. Get a room-specific layout rather than a square-metre formula.
What colour temperature is best for a home?
Warm white, around 2700K to 3000K, suits bedrooms, lounges and dining areas. Neutral or cooler light works better in garages, laundries and task-focused spaces. Keep it consistent across connected rooms. Colour temperature and CRI are different things, so check both when comparing fittings.
Should I include dimmers in every room?
No, but they earn their place in bedrooms, living areas, dining rooms and entertaining spaces, anywhere used for more than one activity. Confirm that your chosen dimmer, LED fitting and driver are compatible before installation, because incompatible combinations flicker or won’t dim properly.
Can my builder’s electrician handle the lighting, or do I need my own?
Your builder’s electrician does the work. What they don’t usually do is sit down beforehand and go through how you’ll use each room. If your builder’s allowance is a standard downlight grid, bring your own plan to the pre-construction appointment and have the layout varied early. Any variation still gets priced through your builder.